How I Plan Every Trip: My 10-Step Travel Planning System
Planning a trip can feel overwhelming, especially if you're travelling somewhere new.
With so many blogs, YouTube videos, TikToks, and social media posts telling you what you "must" do, it's easy to spend more time stressing over the planning than looking forward to the adventure.
After travelling to 55 countries, I've developed a planning system that works for me. It helps me stay organized without planning every minute of my trip, and it makes sure I don't miss out on experiences that need to be booked months in advance.
Every trip is different, so I don't follow these steps perfectly every single time. For example, planning Peru looked very different from planning Costa Rica because permits for the Inca Trail and Machu Picchu sell out months ahead. But overall, this is the exact process I follow before almost every adventure.
Here's my 10-step travel planning system.
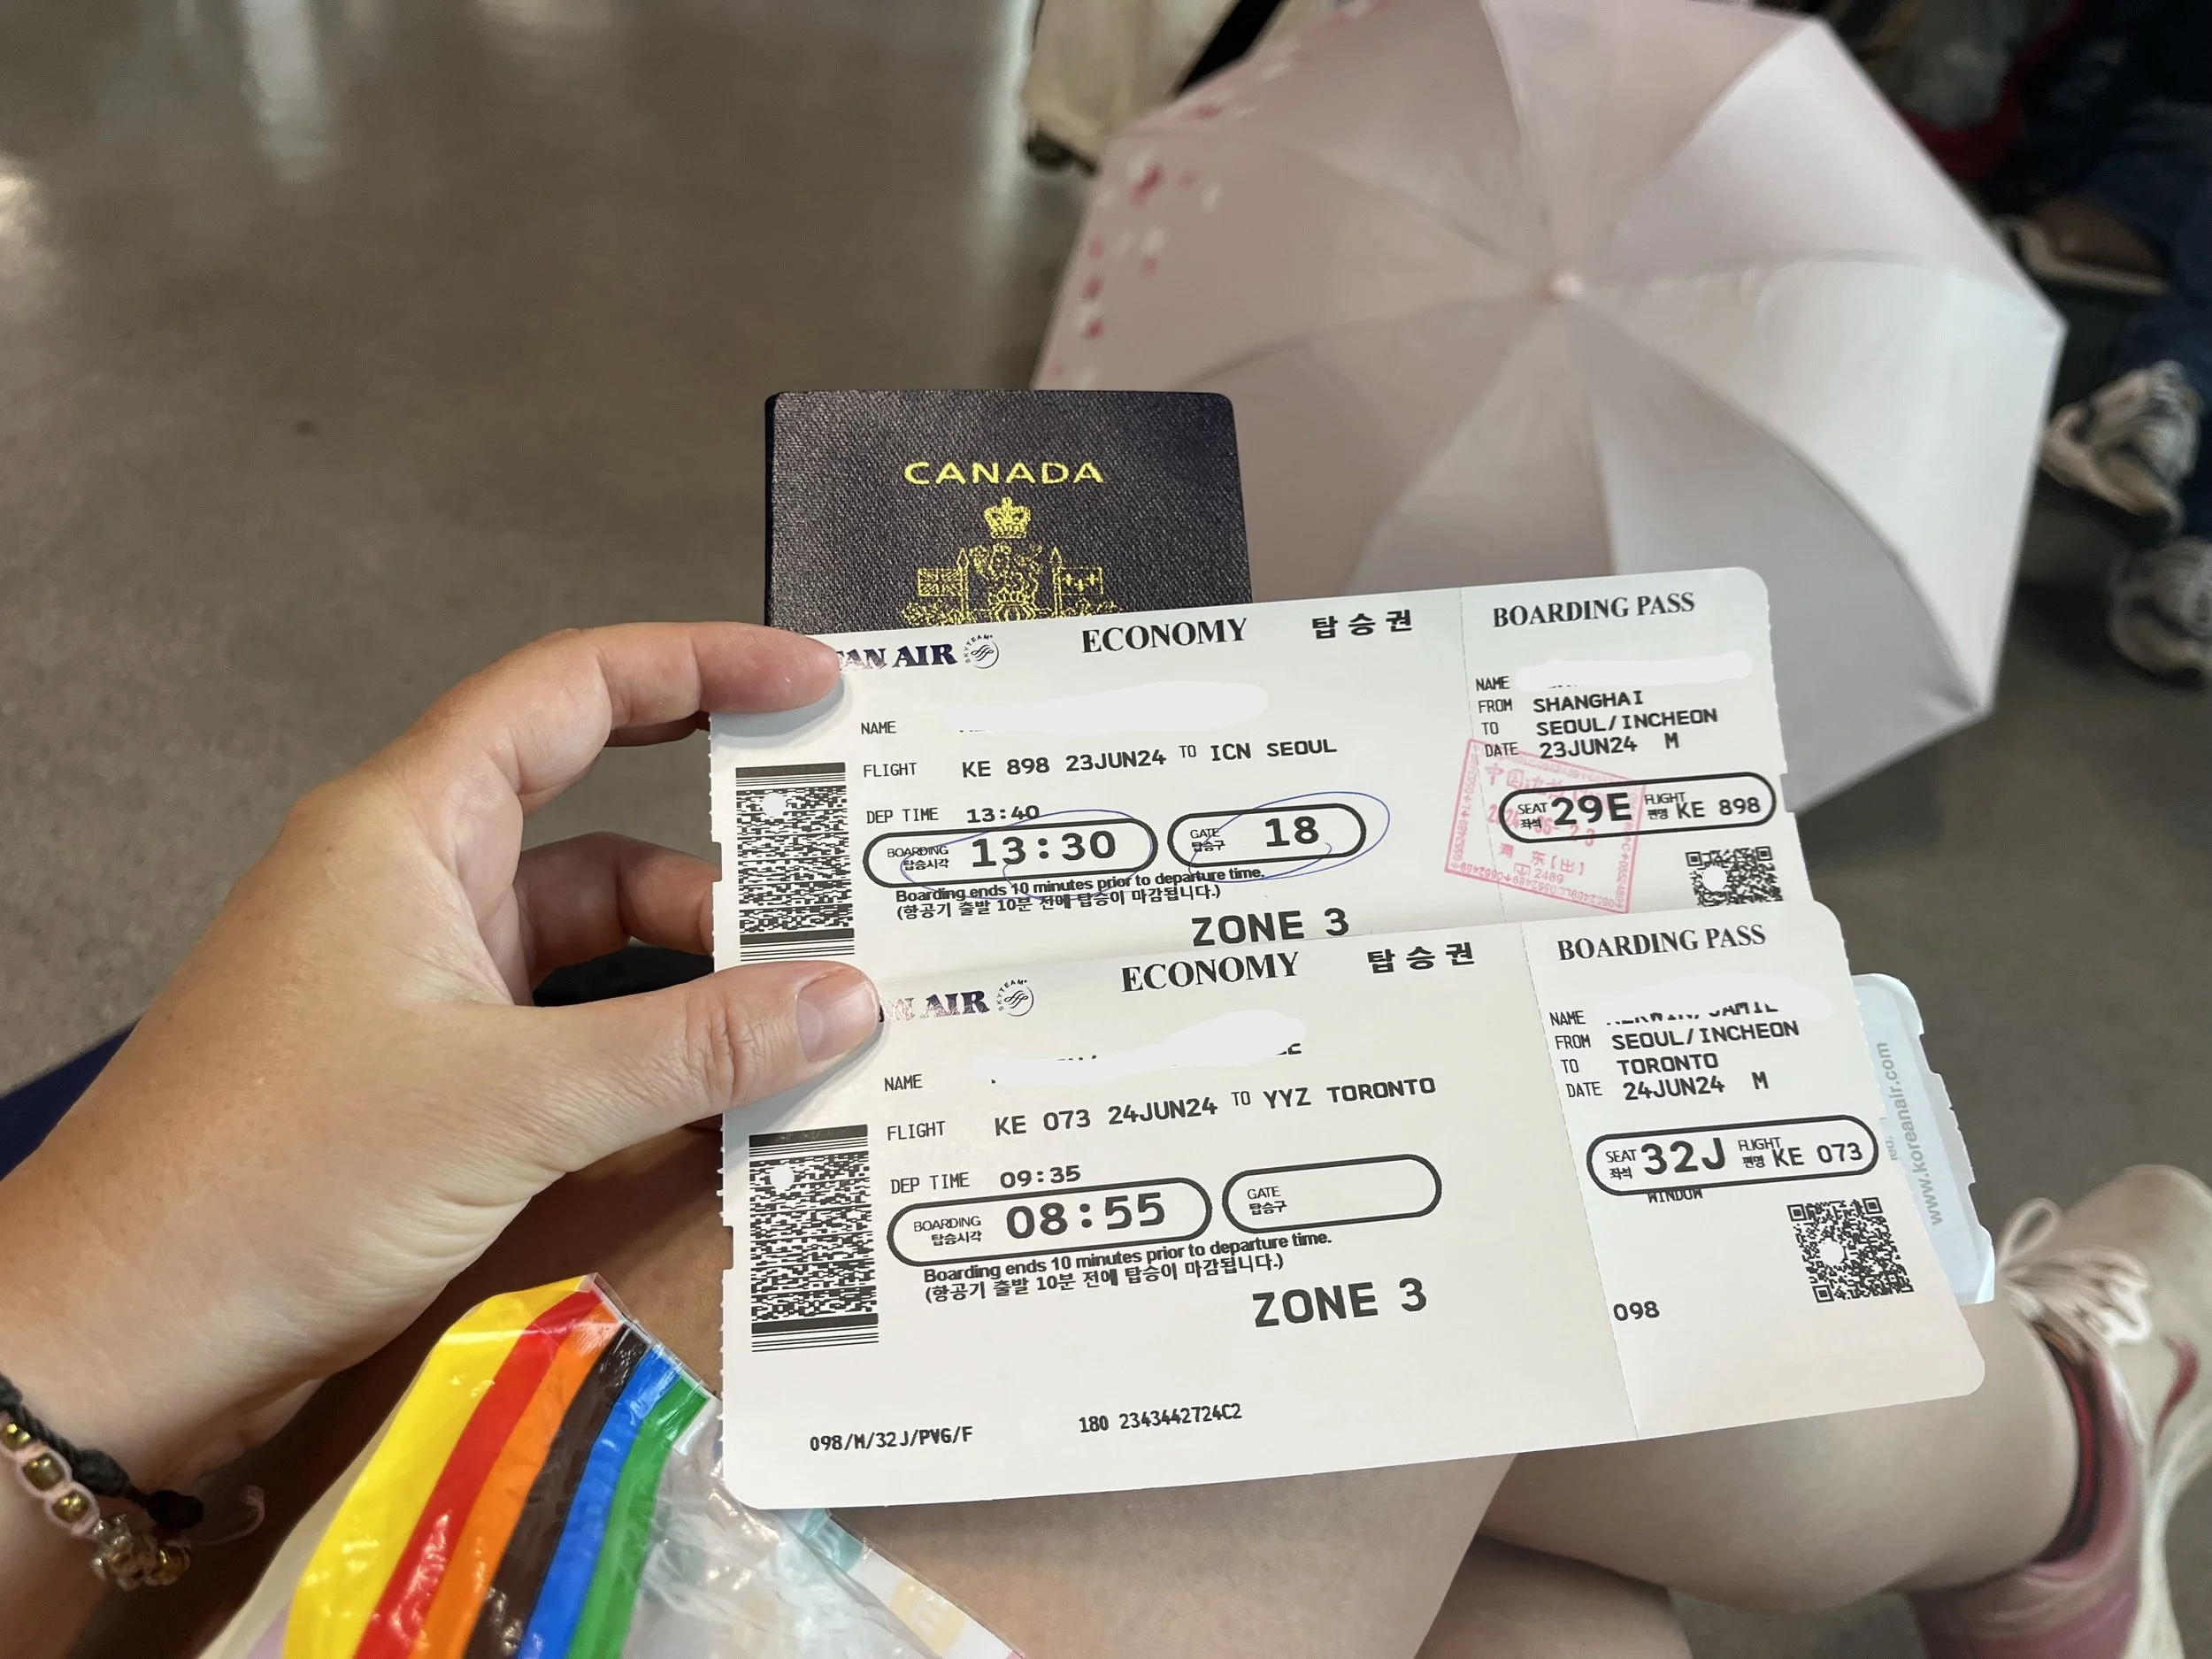
Every trip begins long before takeoff. My travel planning system starts weeks—or sometimes months—before I ever step onto a plane.
Step 1: Choose Your Destination
Everything starts with one question:
Where do I want to go?
Sometimes I already have a destination in mind. Other times, I'll spend weeks looking at maps, reading blogs, or watching travel videos before deciding.
When choosing a destination, I ask myself questions like:
How much time do I have?
What's my budget?
What's the weather like during my travel dates?
Are there any festivals or seasonal events?
What wildlife or scenery can I experience?
Is it somewhere I've always dreamed of visiting?
I also think about whether the destination fits the type of trip I want.
Sometimes I want beaches and sunsets.
Sometimes I want mountains and hiking.
Sometimes I just want to slow down and explore somewhere new.
Choosing the right destination makes every other planning decision much easier.

Some destinations stay on your bucket list for years. Visiting Shanghai Disneyland was one of those dreams finally becoming a reality.
Step 2: Check Entry Requirements
This is probably the least exciting part of planning, but it can also be one of the most important.
Before I book anything, I check:
Passport validity requirements
Visa requirements
Entry forms
Onward travel requirements
Vaccinations (if needed)
I've learned not to assume every country has the same rules.
When I crossed from Nicaragua into Costa Rica, I was asked to show proof of onward travel before I could enter the country. Luckily, I was able to sort everything out, but it was a good reminder that every destination has different requirements.
Taking a few minutes to research these things early can save you a lot of stress later.
Travel insurance is another thing I never leave until the last minute. If you're unsure what to look for when choosing a policy, check out my guide:
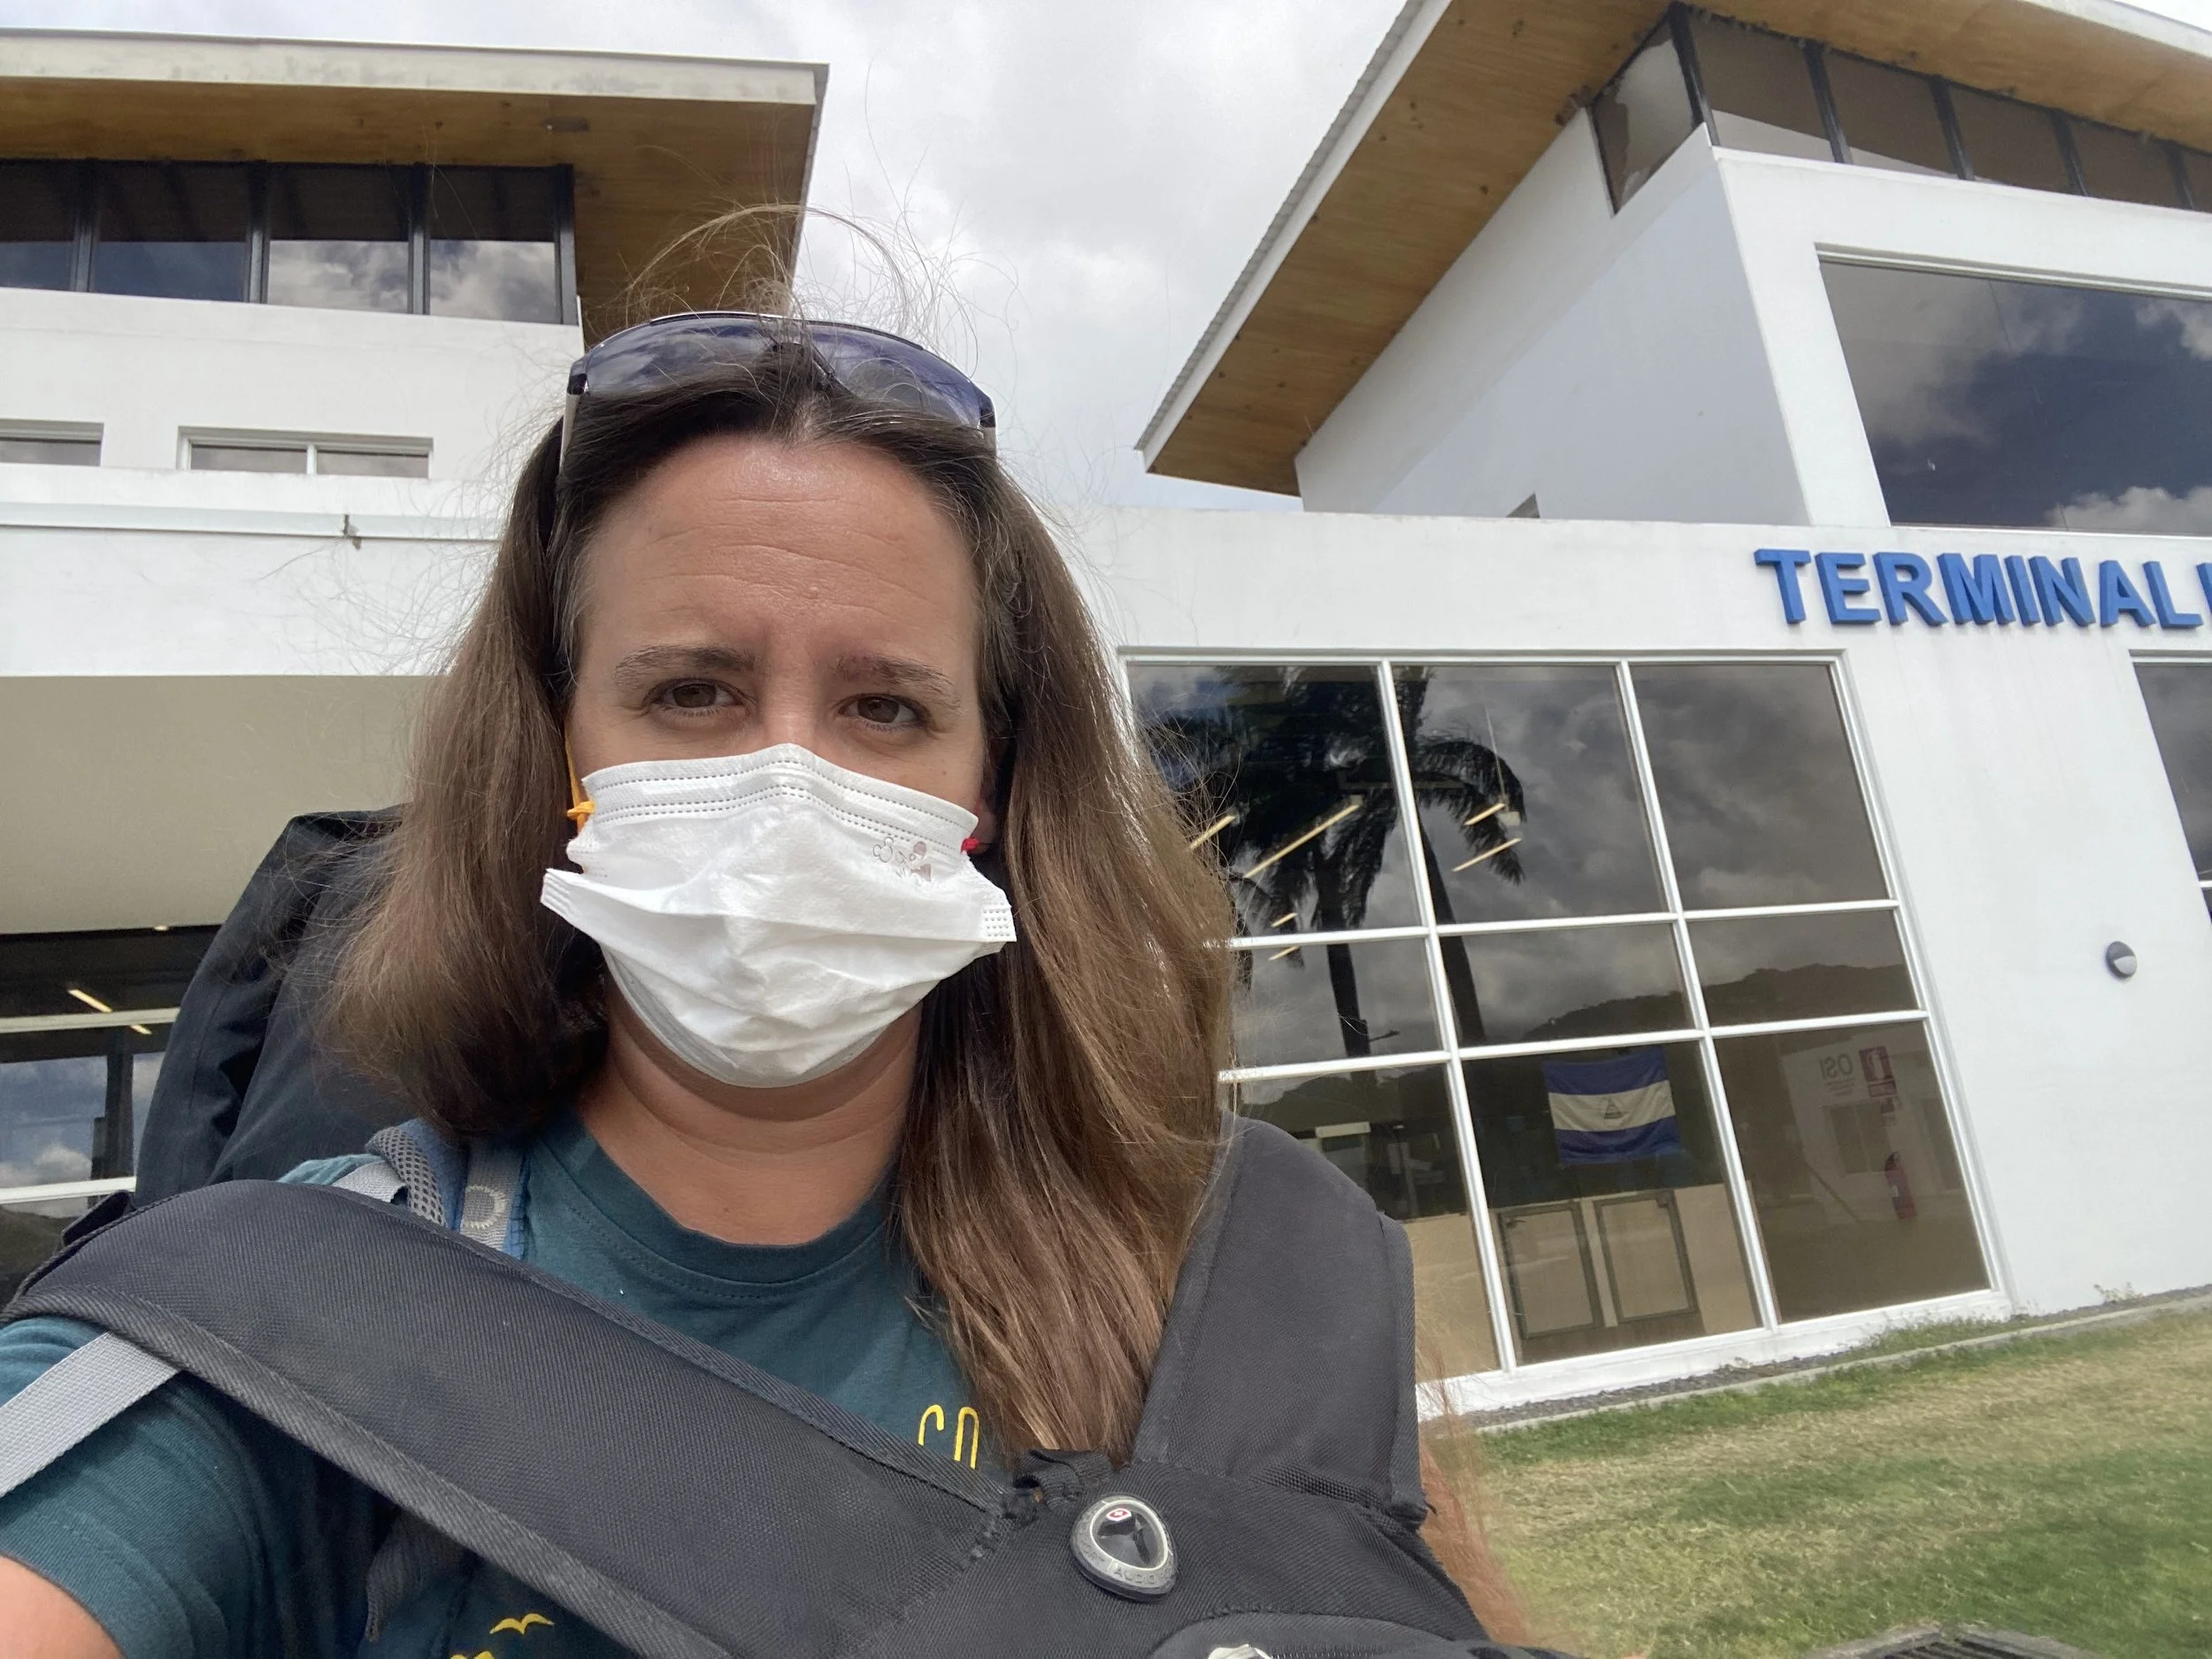
Border crossings are always a little unpredictable. Having your passport, entry requirements and proof of onward travel sorted before you arrive can save a lot of last-minute scrambling.
Step 3: Book Flights and Anything That Sells Out
This is the first booking step.
Usually, I start by booking my flights.
However, there are exceptions.
Peru is a perfect example.
I knew that hiking the Inca Trail and visiting Machu Picchu required permits months in advance, so I planned those at the same time as my flights. There would have been no point booking flights if I couldn't get the permits for the experience I was travelling there for.
Every destination has different attractions that sell out quickly.
Some examples include:
National park permits
Popular hiking trails
Timed-entry tickets
Festivals
Sporting events
Seasonal wildlife experiences
If there's something you absolutely don't want to miss, book it before filling in the rest of your itinerary.
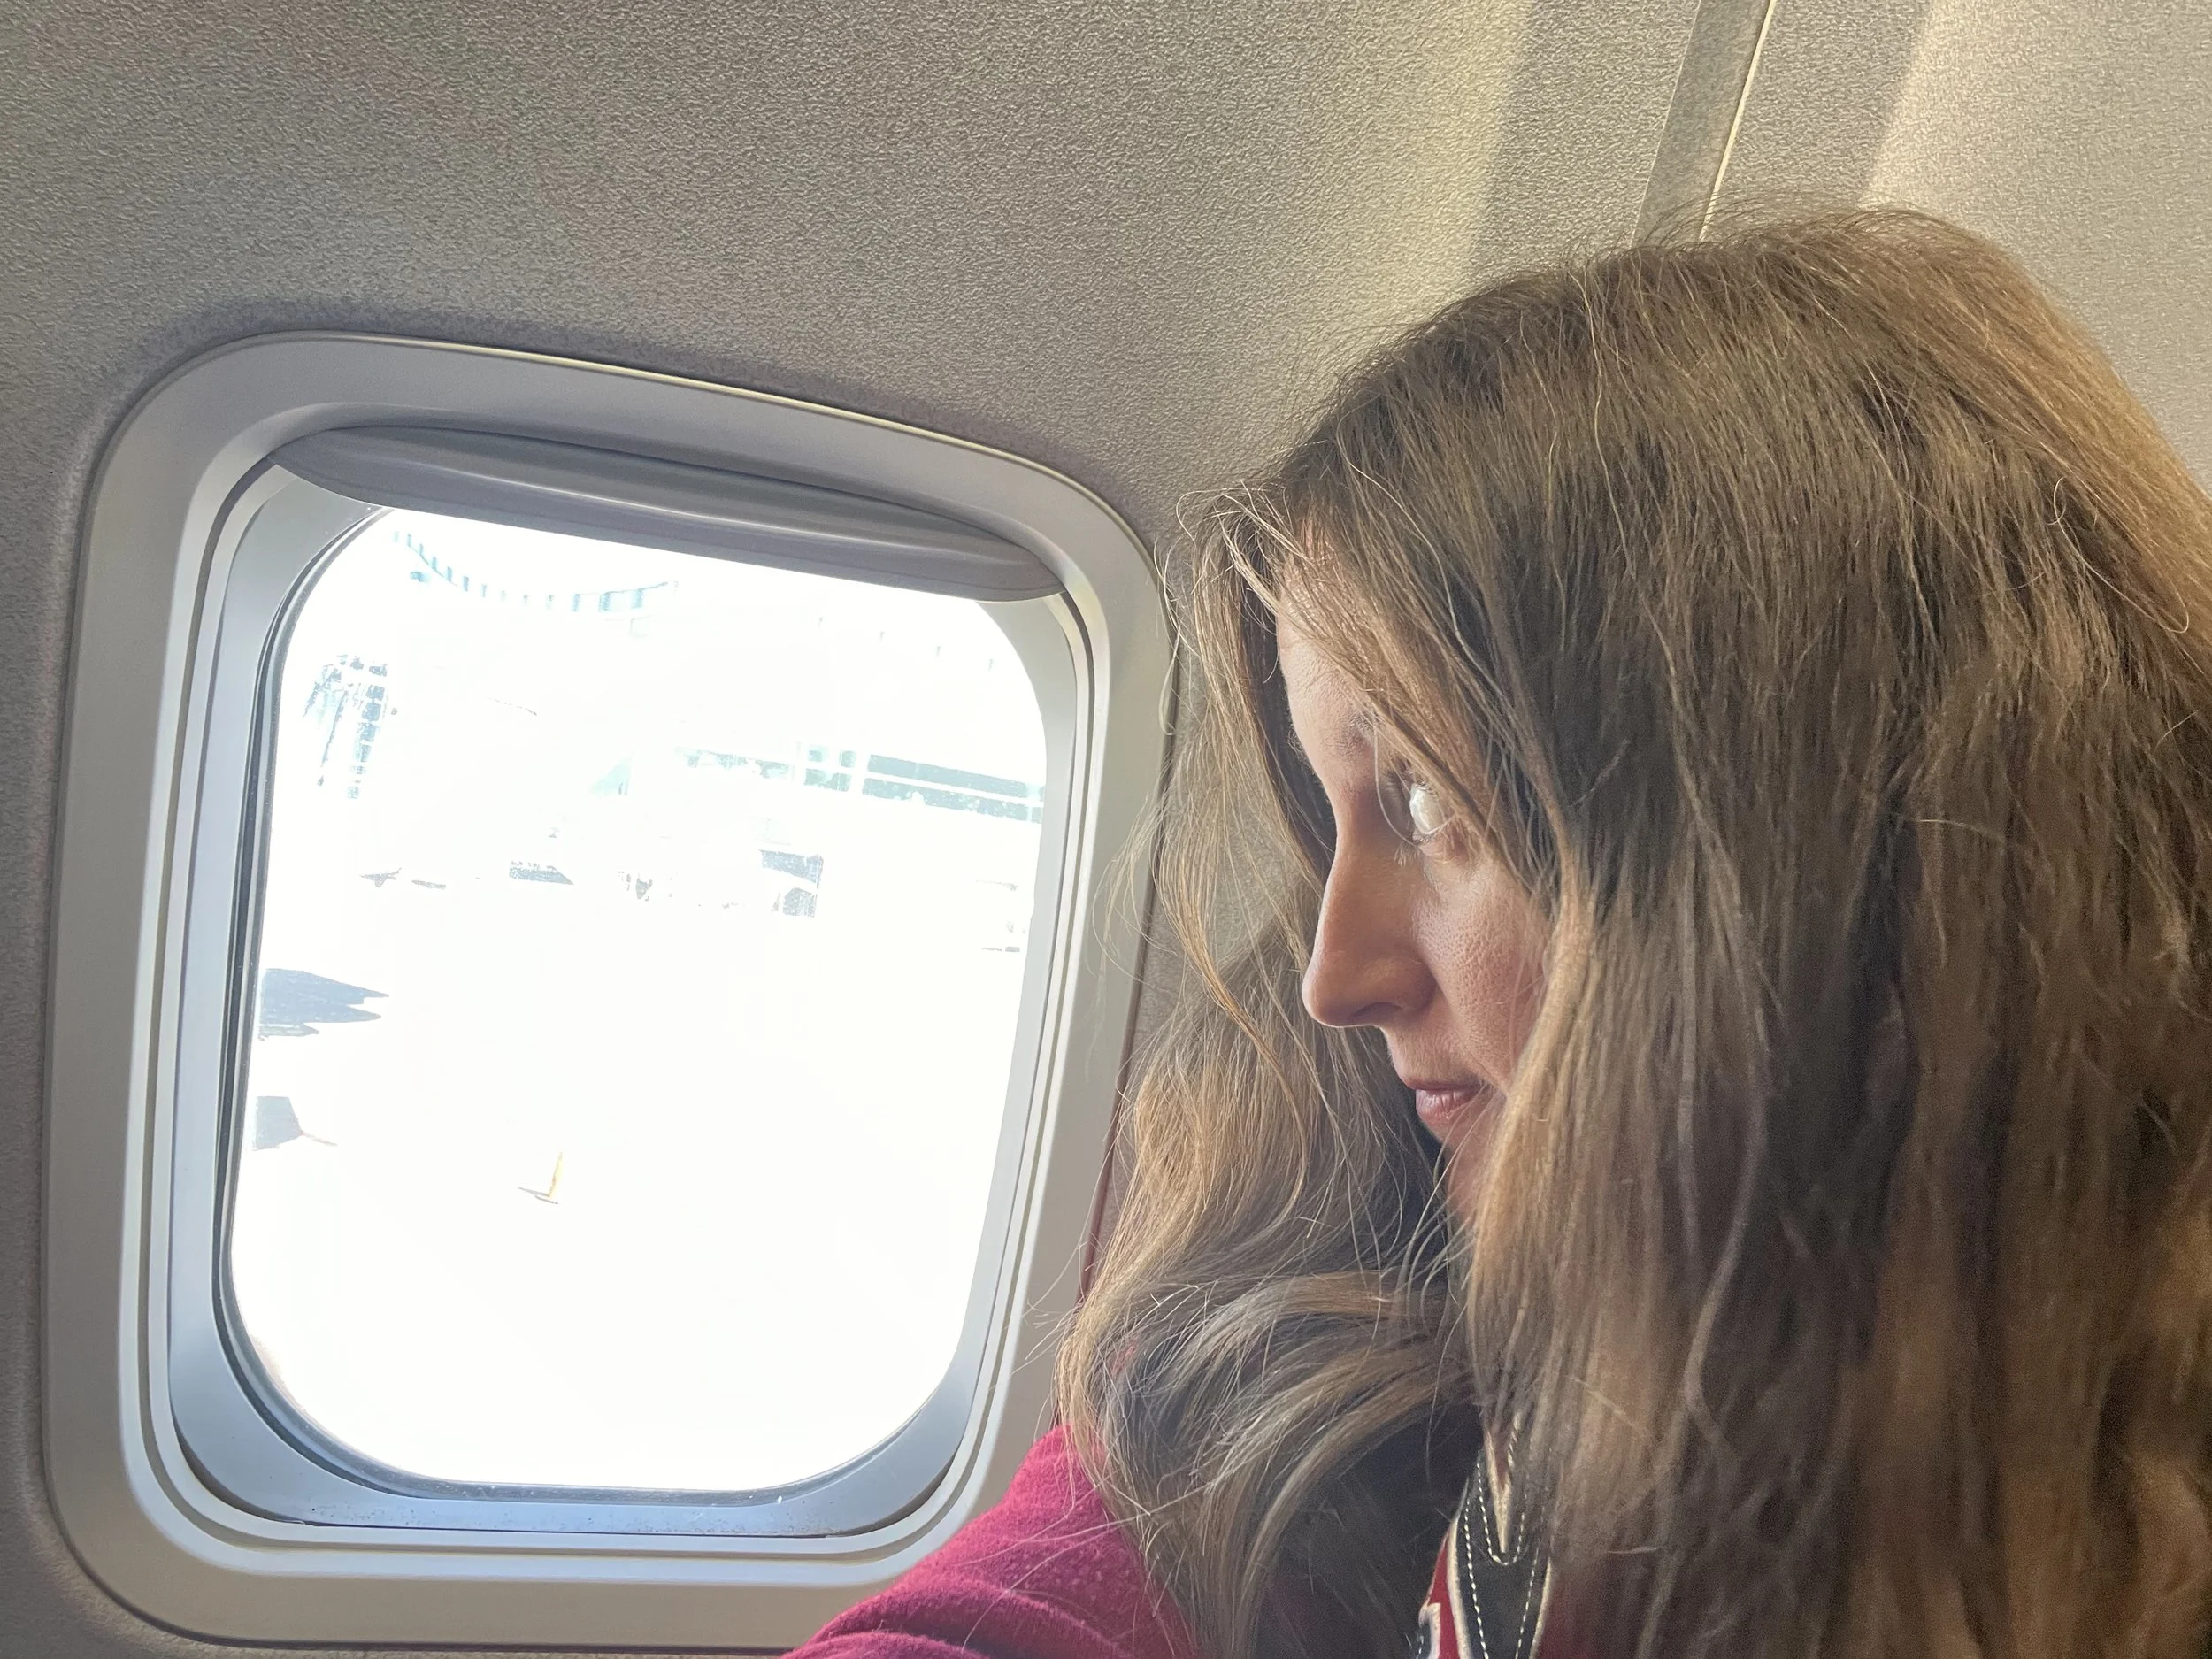
Flights booked, plans in motion, adventure ahead. Once the big pieces are locked in, the trip suddenly starts feeling real.
Step 4: Book Accommodation
Once I know where I'm flying and what dates I'll be there, I start looking at accommodation.
As a solo traveller, I usually stay in hostels because they're affordable and make it easy to meet other travellers.
When comparing places, I look at:
Reviews
Location
Safety
Price
Kitchen access
Common areas
Pool (always a bonus!)
Female-only dorms or mixed dorms
Laundry facilities
I don't necessarily choose the cheapest place.
Sometimes spending an extra $10 or $15 per night for a better location saves both time and transportation costs.
Finding affordable accommodation doesn't have to mean sacrificing comfort. If you're trying to save money on your next trip, check out my guide:
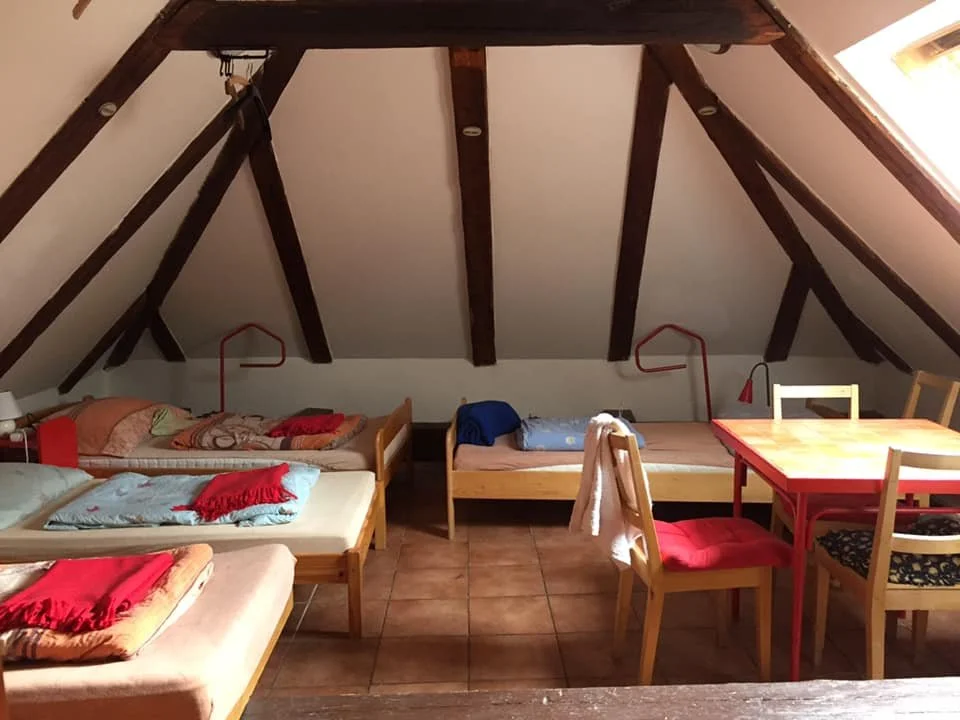
Hostels have been my go-to accommodation for years. This was my room at Hostel Merlin in Český Krumlov—simple, affordable, and exactly what I needed.
Step 5: Figure Out Transportation
Now that I know where I'm staying, it's time to figure out how I'm getting around.
Depending on the destination, this could include:
Buses
Trains
Ferries
Domestic flights
Rental cars
Airport transfers
Walking
Some transportation needs to be booked ahead, while other times I simply research my options and wait until I arrive.
I also try to estimate realistic travel times.
One lesson I've learned over the years?
Google Maps isn't always accurate—especially in countries where buses don't run exactly on schedule.
Always leave yourself a little extra time.
I also rely on a handful of travel apps to help me book transportation, navigate new cities, and stay organized while I'm travelling. You can see all of my favourites in:
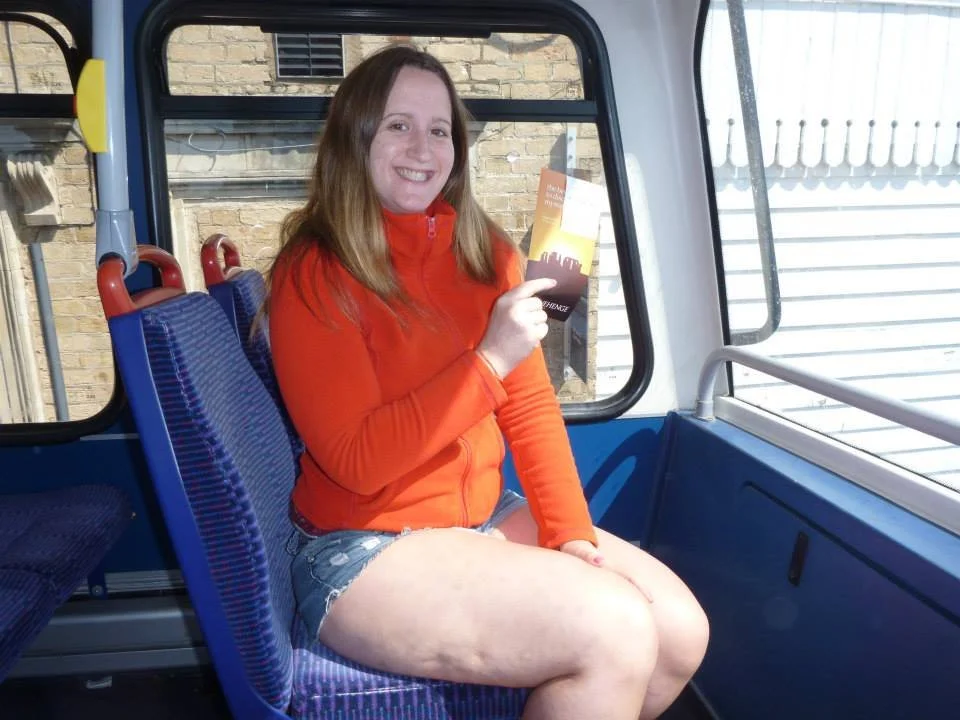
Figuring out the local transportation is all part of the adventure—even when I'm not entirely sure I'm going the right way.
Step 6: Plan Activities
This is one of my favourite parts of planning.
Once I know where I'm going, I start researching everything I could possibly do there. My list is almost always longer than the time I actually have, but I'd rather have too many options than get home and realize I missed something amazing.
Then I separate those activities into three categories:
1. Must Book Ahead
Things with limited availability or timed entries.
2. Can Book Later
Tours that usually have availability a day or two before.
3. Decide When I Get There
Some activities depend on the weather or how I'm feeling that day.
I also look for discounts, combination tickets, or city passes that could save money.
Having a rough plan gives me flexibility while making sure I don't miss the experiences that matter most.
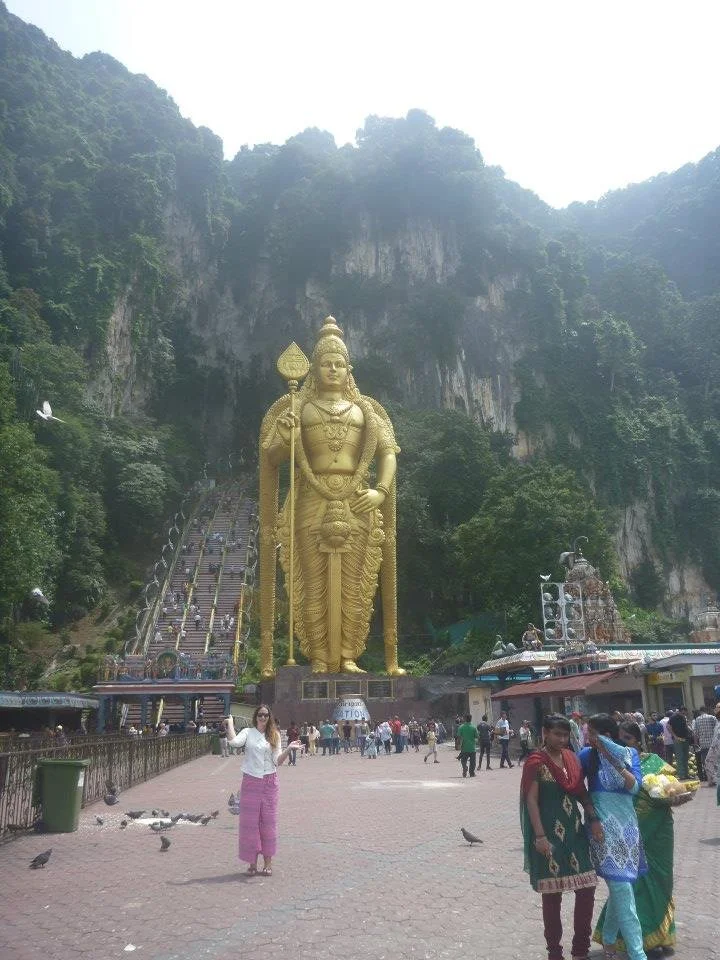
This is the fun part of travel planning—figuring out everything I want to see and do. My activity lists are usually much longer than the time I actually have!
Step 7: Plan My Budget
Before I leave, I like to have a rough idea of what the trip will cost.
I don't plan every dollar, but I estimate things like:
Accommodation
Transportation
Activities
Daily spending money
Emergency funds
My goal is simple:
I try to have as much of the trip paid for before I leave as possible.
That way, I can enjoy the trip without constantly worrying about my bank account.
If you'd like more details, I've written a full guide called:
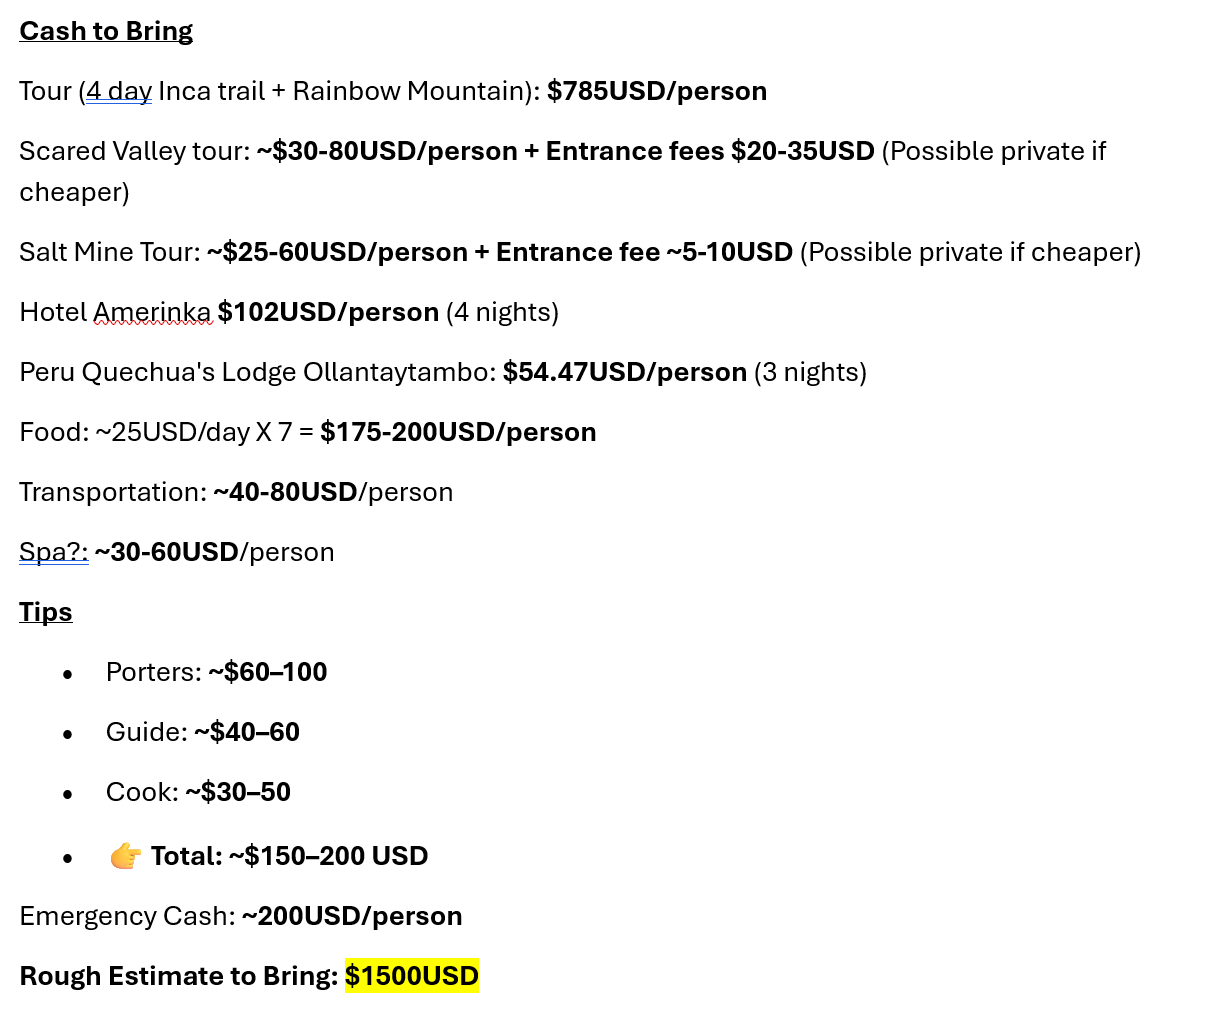
Yes, I really do plan my budget like this. Before a trip, I estimate everything from hotels and activities to food, tips and emergency cash so I know roughly how much I'll need.
Step 8: Get My Money Ready
Money is one of those things that's easy to forget until the last minute, but I like having it organized before I even leave home.
At least a month before my trip, I visit my bank and order local currency if I think I'll need cash when I arrive.
Then comes the slightly obsessive part...
I organize my money into categories like accommodation, transportation, food, attractions, and souvenirs. I know it sounds a little over the top, but it helps me keep track of my spending without constantly checking my bank account.
It was especially useful in Peru. Whenever it was time to pay my share of a hotel, I already knew exactly how much money I'd set aside. While everyone else was counting bills and working out what they owed, I could simply hand over my portion.
It might not be for everyone, but it's one of those little systems that makes travelling feel much less stressful for me.
I also make sure:
My credit cards are working.
I know about any foreign transaction fees.
I have multiple payment methods.
I carry a small emergency cash reserve.
Not every destination is cashless, and it's always nice to have local currency ready for taxis, buses, or small restaurants when you first arrive.
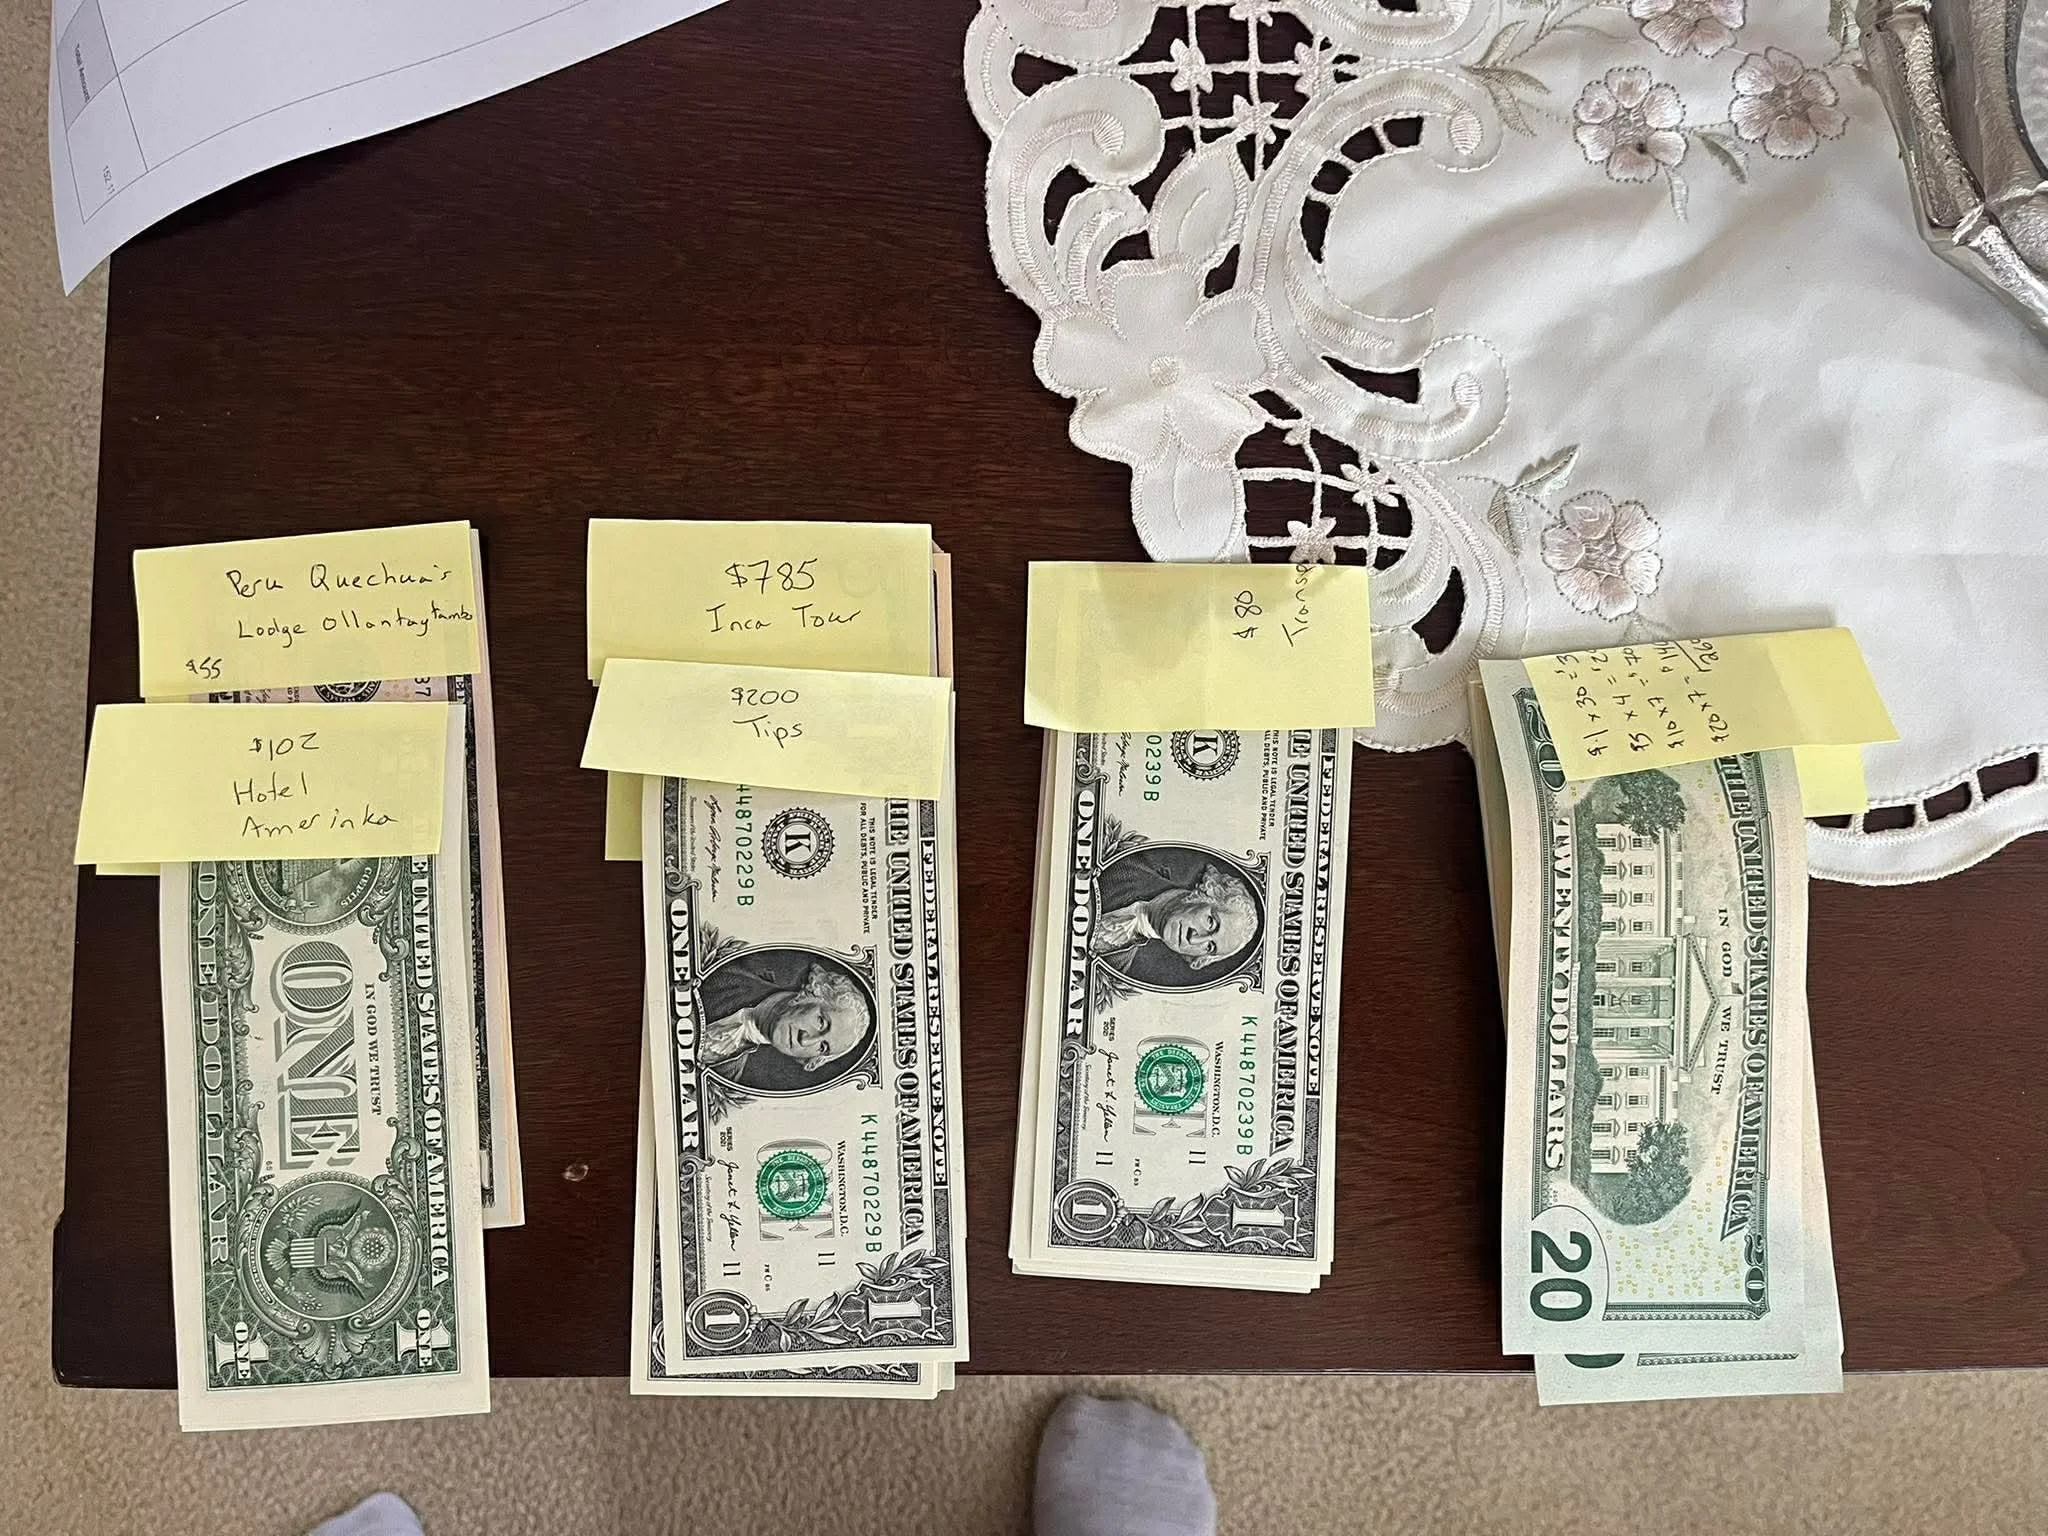
Maybe I'm a little too organized. Before Peru, I separated my money by hotels, tours, tips, transportation and spending money—and yes, every pile went into its own envelope.
Step 9: Check the Weather and Pack
Packing starts with one thing:
The weather.
A tropical beach destination requires very different clothing than hiking through the Andes.
I also think about the activities I'll be doing.
Will I need:
Hiking boots?
Swimwear?
Rain gear?
Warm layers?
Snorkelling equipment?
Power adapters?
Packing for your itinerary rather than just the destination helps avoid both overpacking and forgetting important items.
Over the years, I've created destination-specific packing lists to help me stay organized. Whether I'm heading to Costa Rica, Peru, Europe, or somewhere completely new, having a checklist means I'm much less likely to forget the essentials.
If you're wondering how I fit everything into one backpack, check out
Looking for a ready-made packing list? Visit my Shop, where you'll find destination-specific packing lists designed to make packing quicker and less stressful.
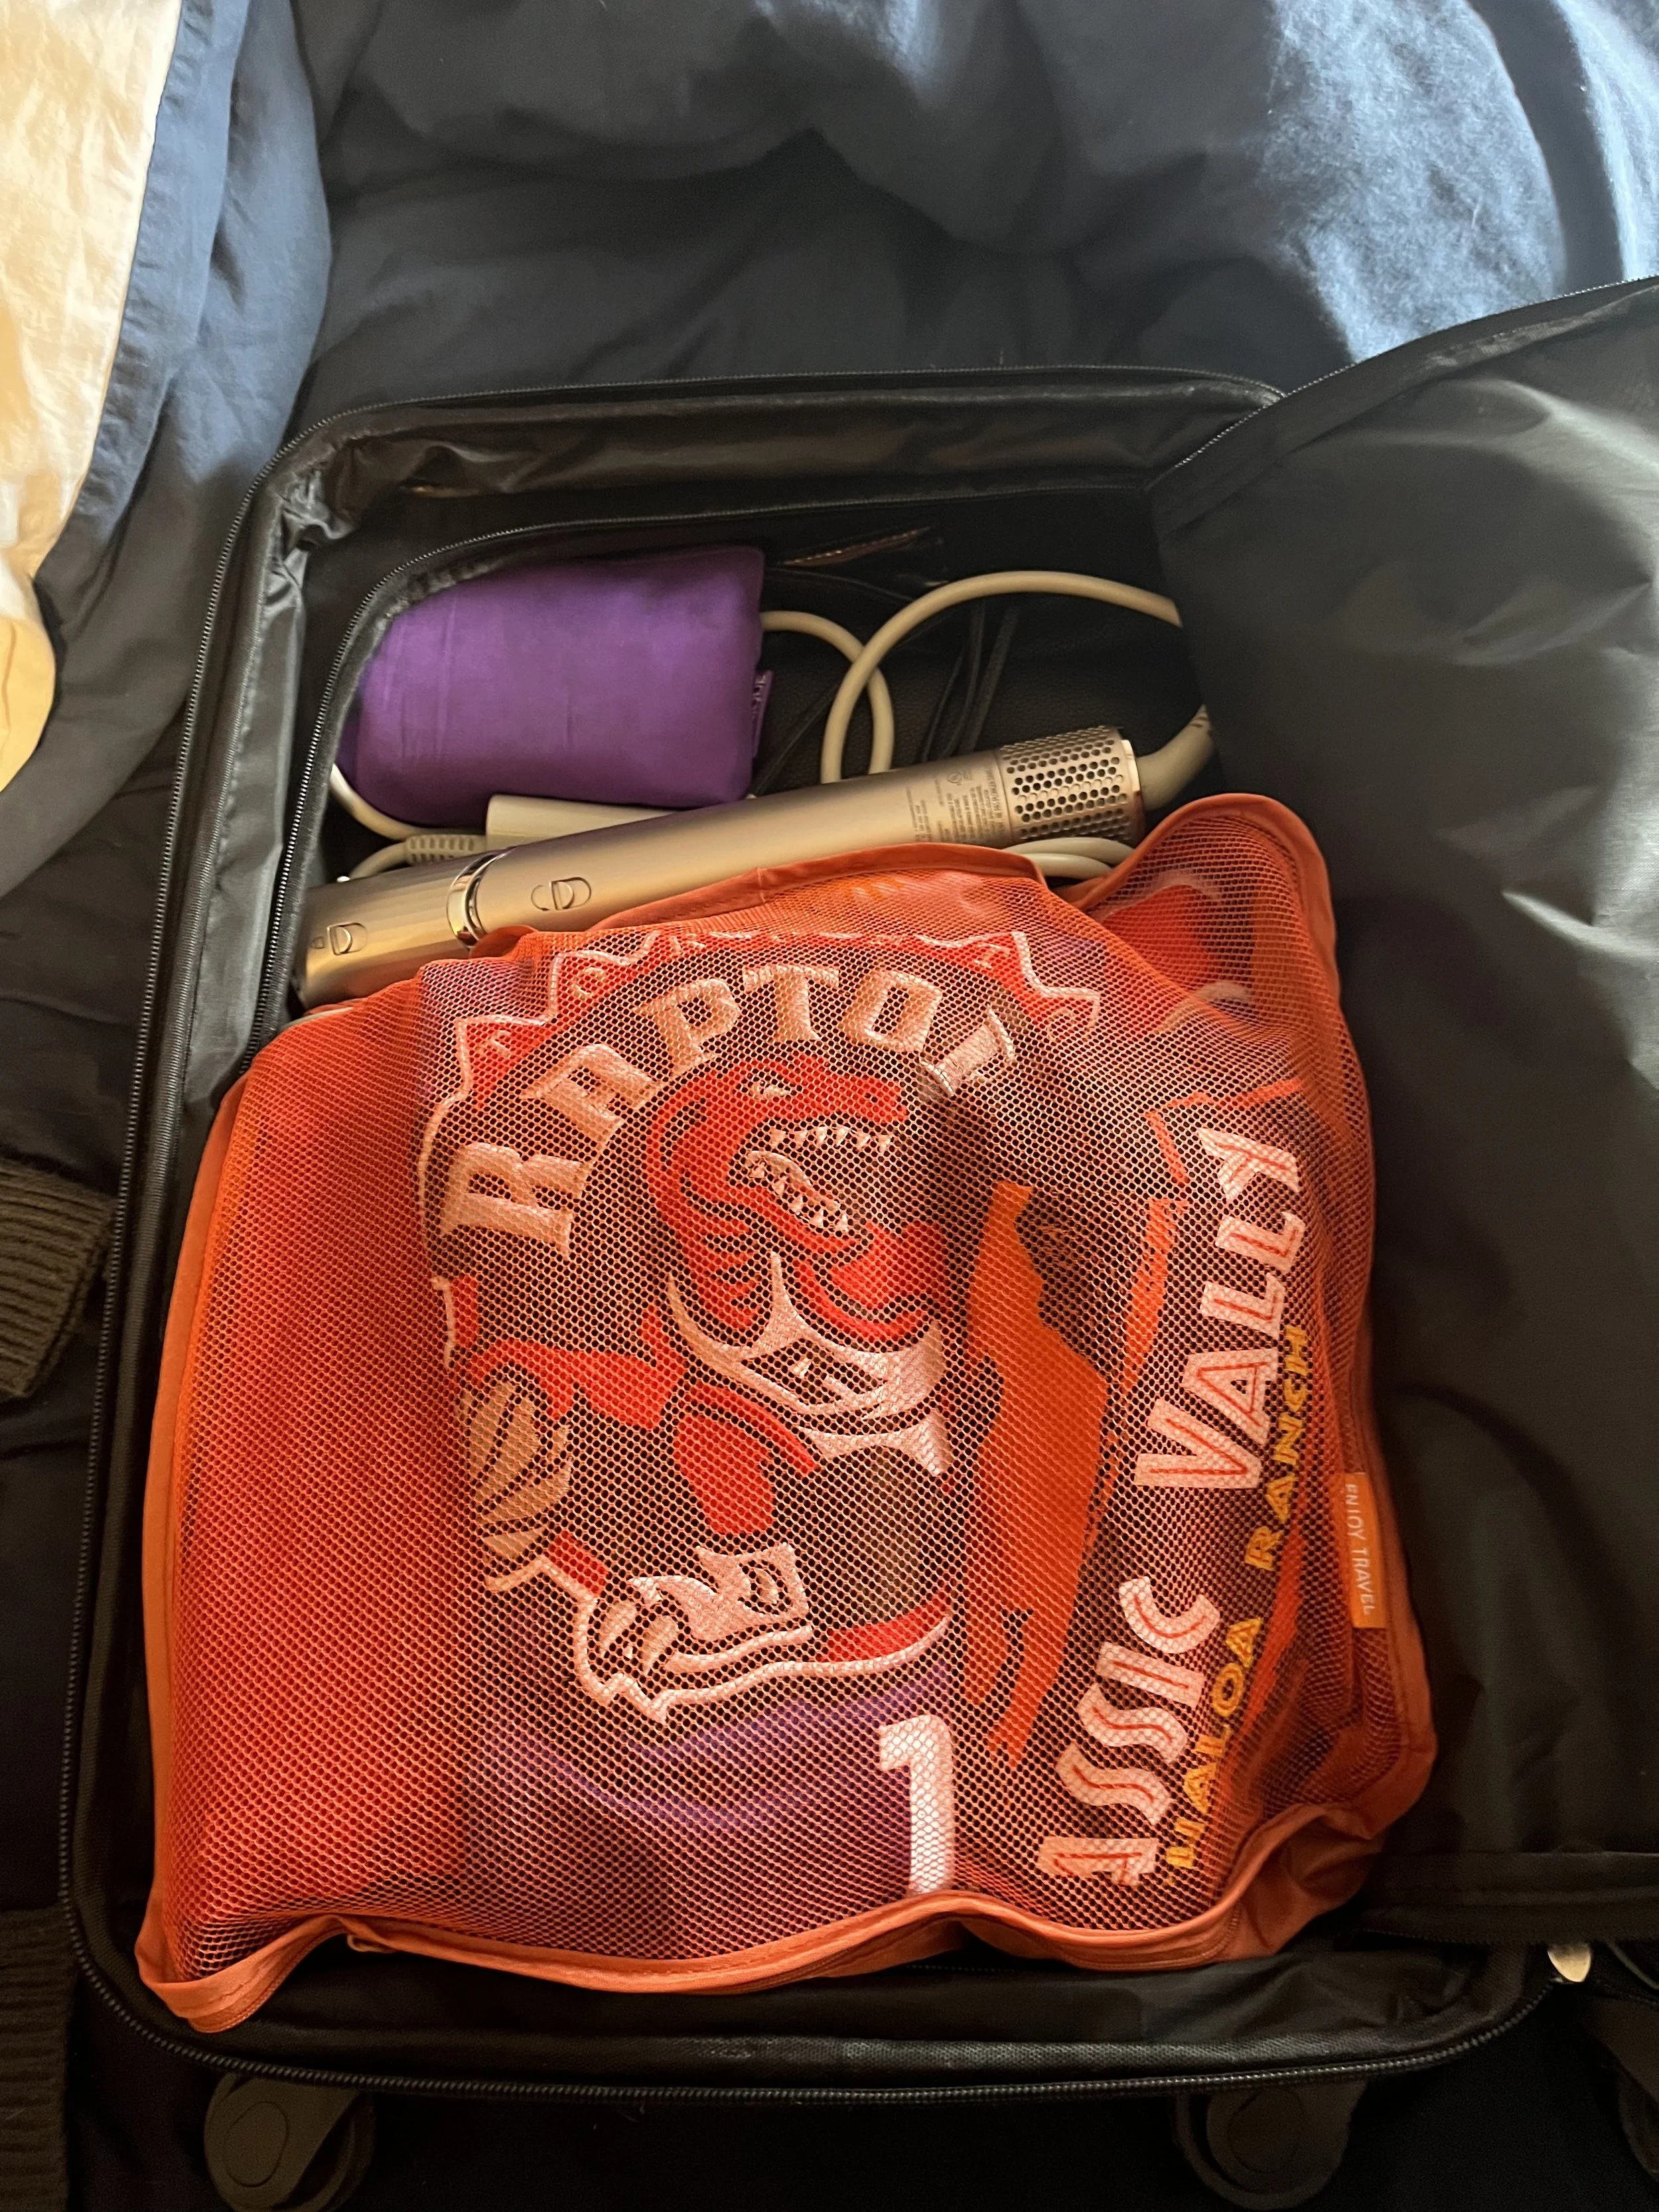
Packing is where all that planning finally ends up in a bag. I check the weather, think about what I'll actually be doing—and then somehow convince myself everything I want to bring will fit.
Step 10: My Final Travel Checklist
A few days before I leave, I go through one final checklist.
I confirm:
Passport
Flights
Accommodation
Transportation
Attraction tickets
Travel insurance
Local currency
Copies of important documents
Chargers
Power bank
Offline Google Maps
Emergency contacts
Taking 20 minutes to double-check everything gives me peace of mind before heading to the airport.
Once everything is packed, the only thing left is getting through the airport.
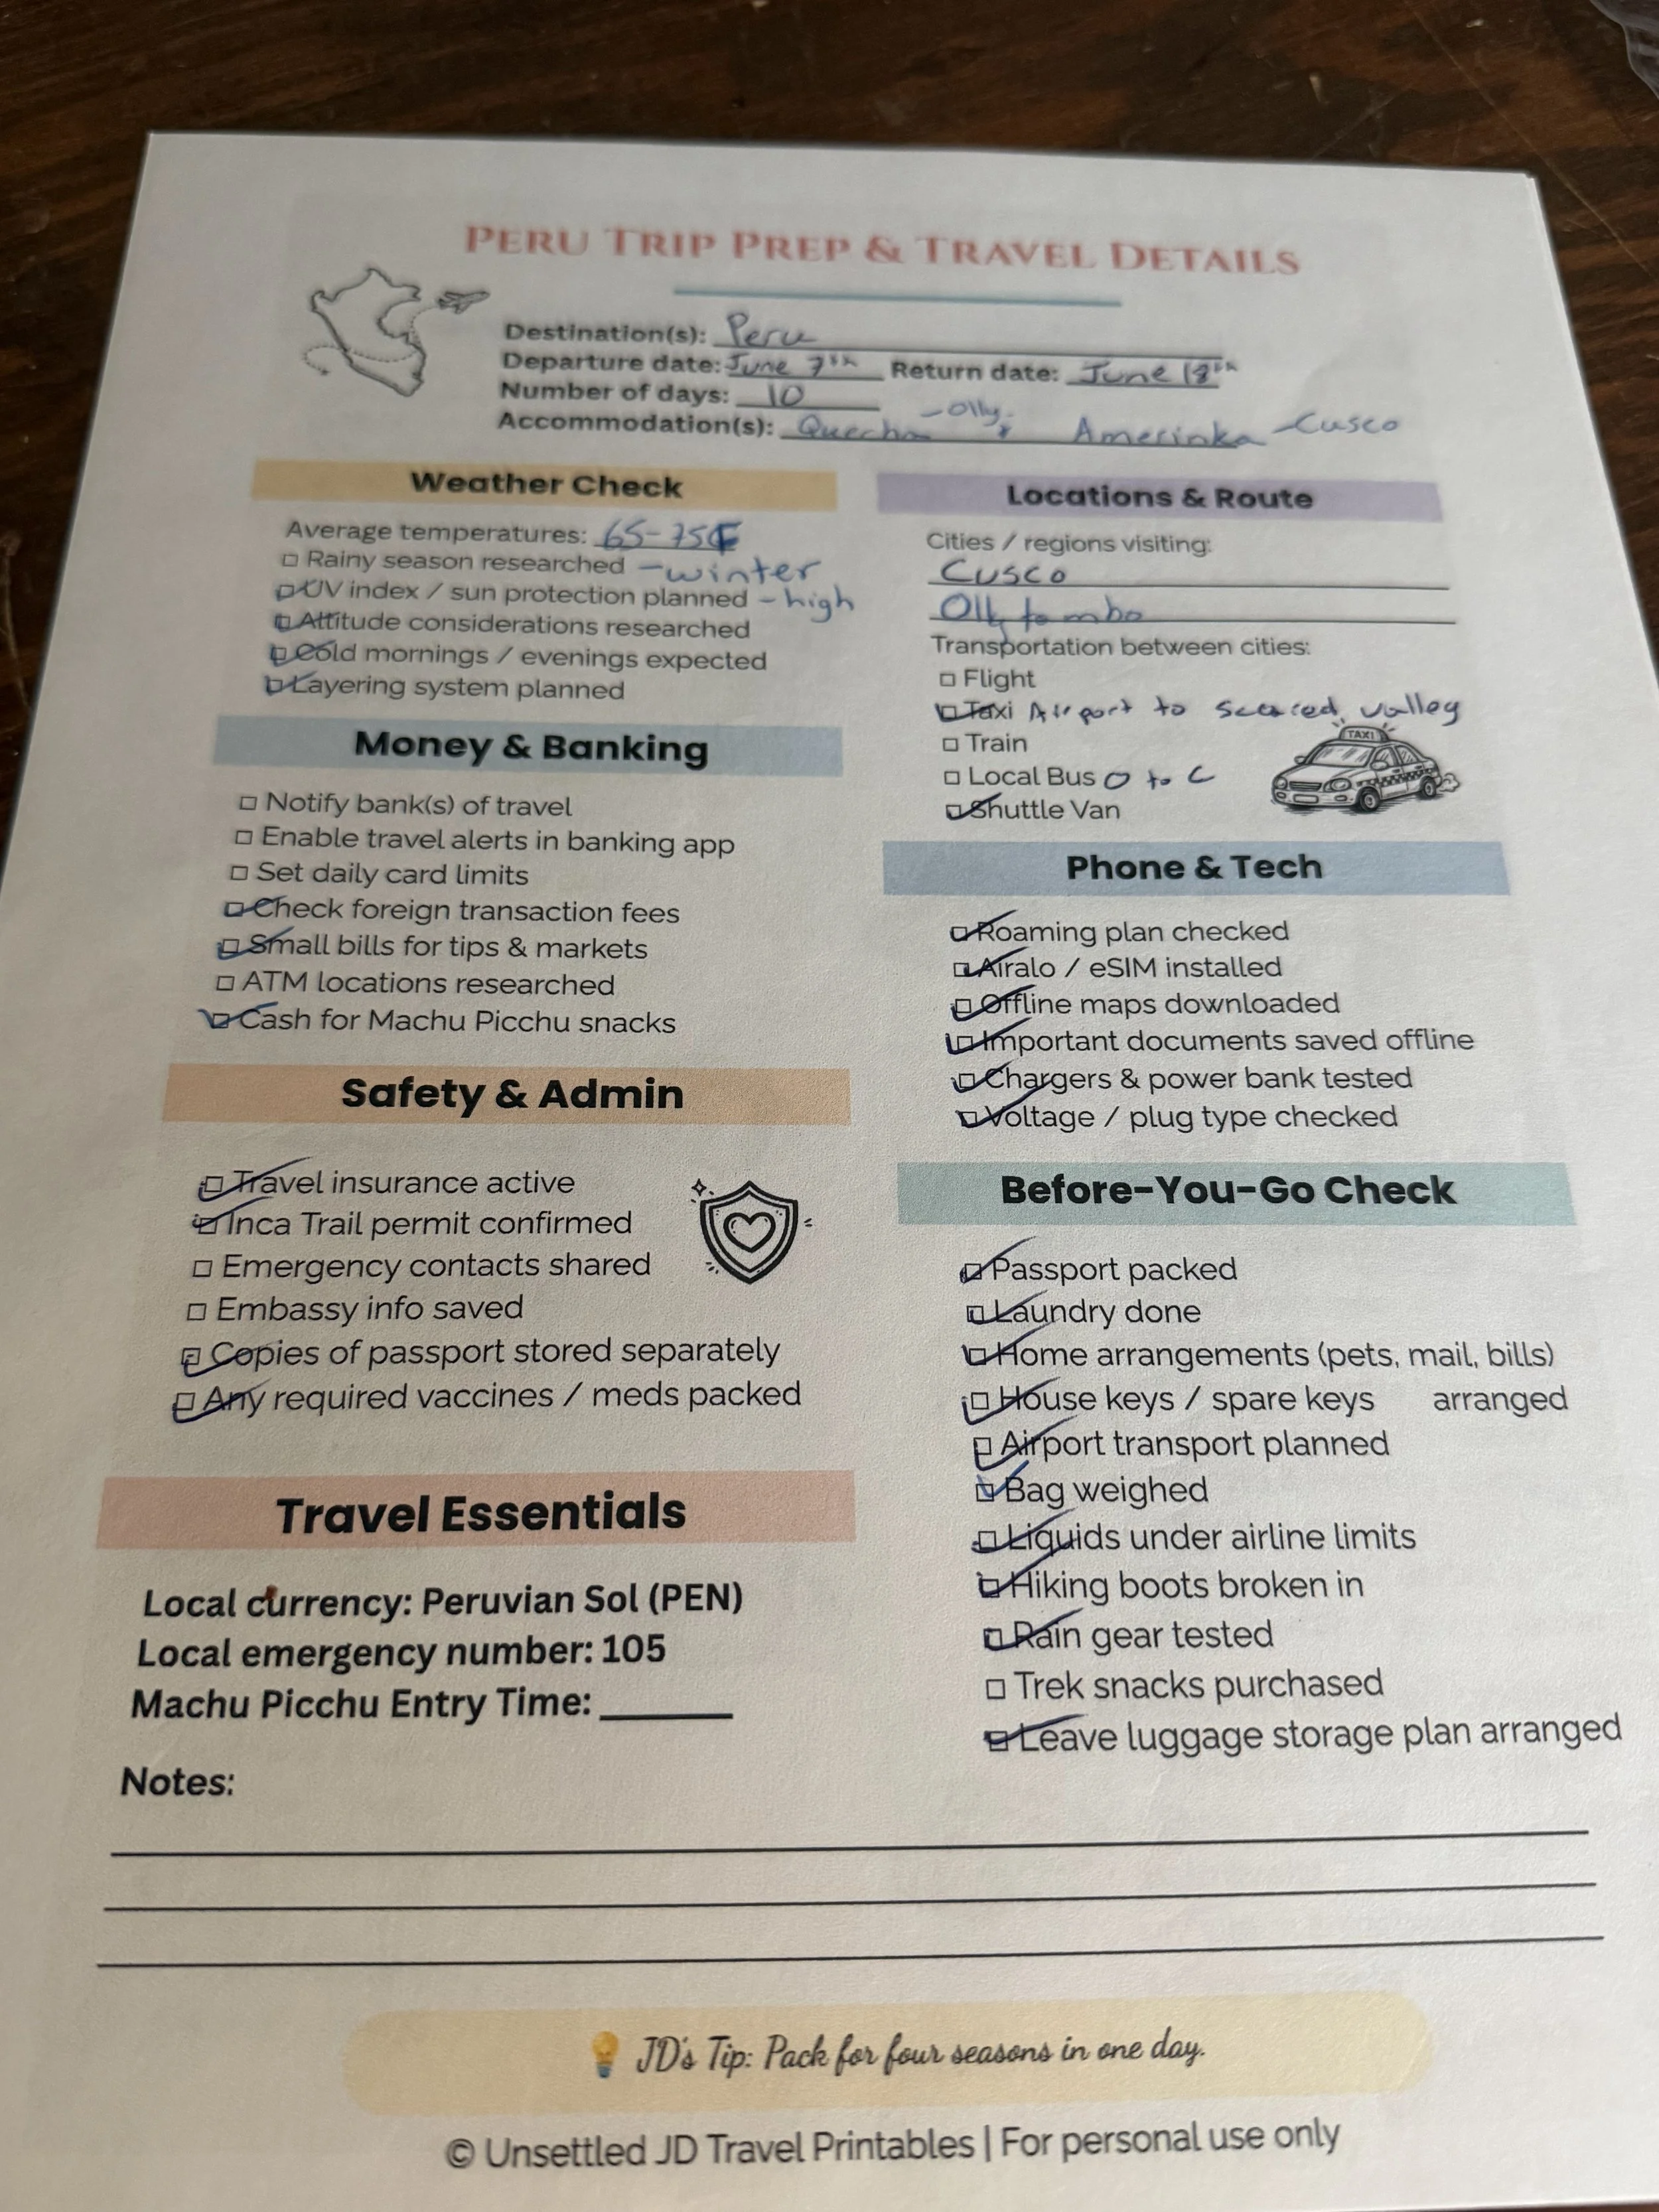
And yes, I actually use my own travel worksheets! Before Peru, I went through my pre-trip checklist to make sure everything from the weather and money to offline maps, insurance and my passport was ready to go.
Final Thoughts
People often ask me how I stay organized while planning so many trips.
The truth is, I don't use a complicated travel planning app or some secret system. I simply break everything down into manageable steps and work through them one at a time.
I simply follow the same basic system every time.
Some trips require more planning than others. Peru needed permits months in advance, while other destinations gave me much more flexibility. The important thing is knowing which parts of your trip need to be locked in early and which parts can be left open for spontaneous adventures.
I also try not to overplan.
Some of my favourite travel memories weren't on an itinerary at all. They happened because I wandered down a side street, accepted an invitation from other travellers, or simply decided to stay for one more sunset.
Having a good plan doesn't take away the adventure—it creates the freedom to enjoy it.
After 55 countries, this system has helped me travel with less stress and more confidence, and I hope it helps you to do the same.
No matter how much planning you do, things won't always go perfectly—and that's okay. Every trip teaches you something new, and over the years, those lessons have completely changed the way I travel.
If you'd like to avoid some of the mistakes I've made along the way, check out:
The Ultimate Guide to Avoiding Travel Mistakes (Save Time, Money & Stress).
And if you're looking for even more travel resources, don't forget to visit the Unsettled JD Shop, where you'll find packing lists, planners, scavenger hunts, and other tools designed to make your next adventure a little easier.
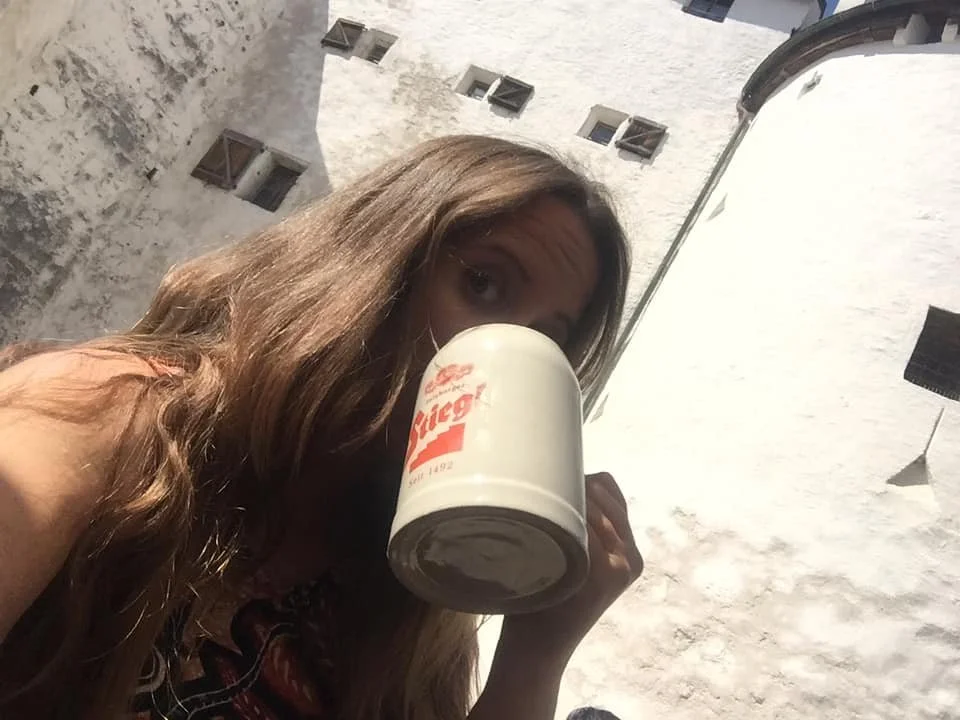
Plan the important stuff, leave room for the unexpected and, when in doubt, grab a pint.
