How I Pack Everything Into a 65L Backpack (Without Losing My Mind)
Packing can feel overwhelming — especially when you’re trying to fit your entire life into one bag. After 15 years of travel and 50+ countries, I’ve learned that packing well isn’t about owning less. It’s about packing smarter.
This is the exact system I use to pack everything into a 65-liter backpack while staying organized, comfortable, and prepared for almost anything.
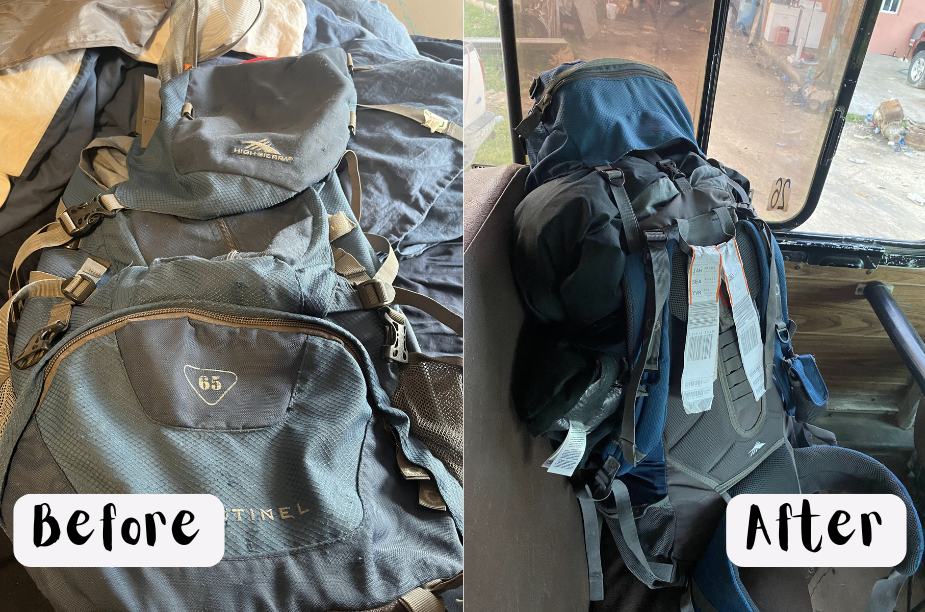
How I pack everything into a 65L backpack that doesn’t hurt my back.
Step 1: Start With the Right Backpack
A 65L backpack is my sweet spot. It’s large enough for long trips but still manageable if packed correctly. Mine is a top-loader with a bottom pouch, top pouch, and a main compartment — and every section has a purpose.
Before you pack anything, fully open your backpack and visualize where things will go. Packing without a plan almost always leads to overpacking.
Pick the right backpack. I prefer a 65L, but many backpackers travel comfortably with 40–60L depending on their needs.
Step 2: Assign Each Section a Job
This is where most people go wrong — they treat their backpack like a black hole.
Here’s how I divide mine:
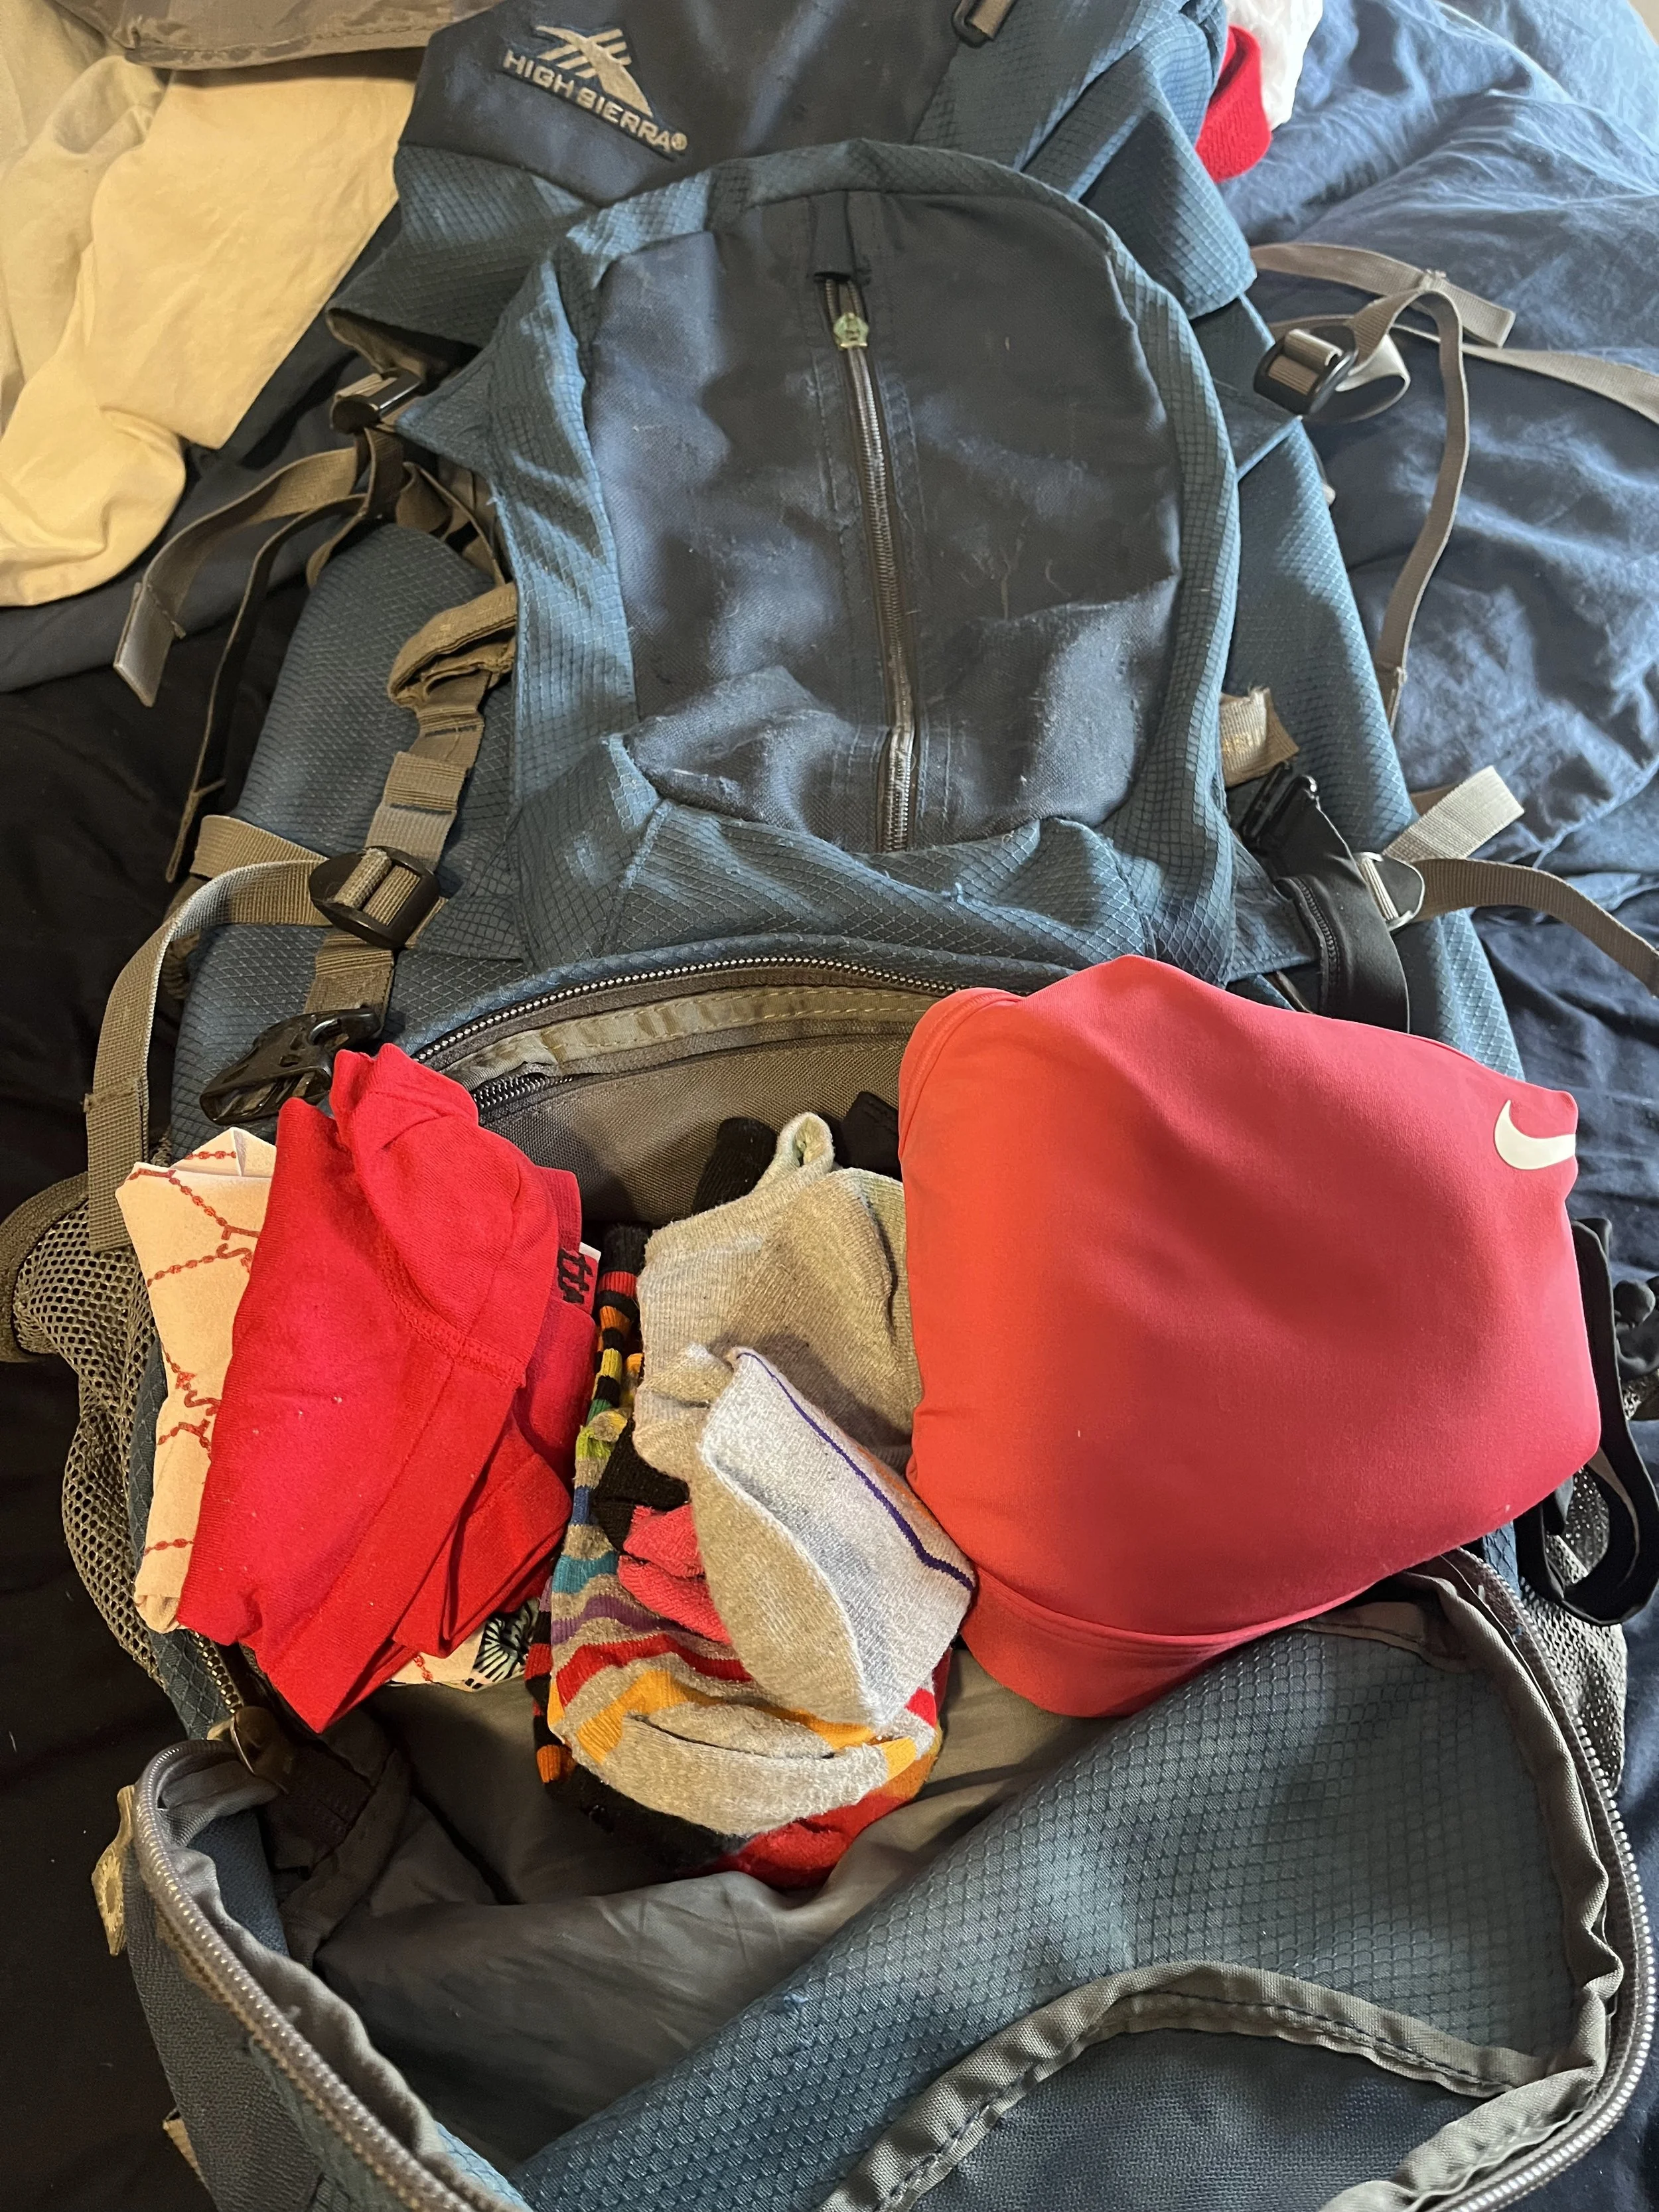
Bottom pouch
This is where bulky but flexible items live: socks, underwear, bras, bathing suits, and sometimes sandals or gym shoes.
Top pouch
Quick-access essentials go here: warm layers, hat, mittens, valuables, and anything I might need fast.
Small front pouch
Tiny but important items: pens, bottle openers, highlighters, adapters — the random things that always come in handy.
Hidden inner sleeve
This is my “don’t lose this” zone. Makeup, jewelry, wallet, passport backups, and occasionally my hair straightener.
Main compartment
Clothes only. No exceptions.
Start with the main compartment and build from the bottom up.
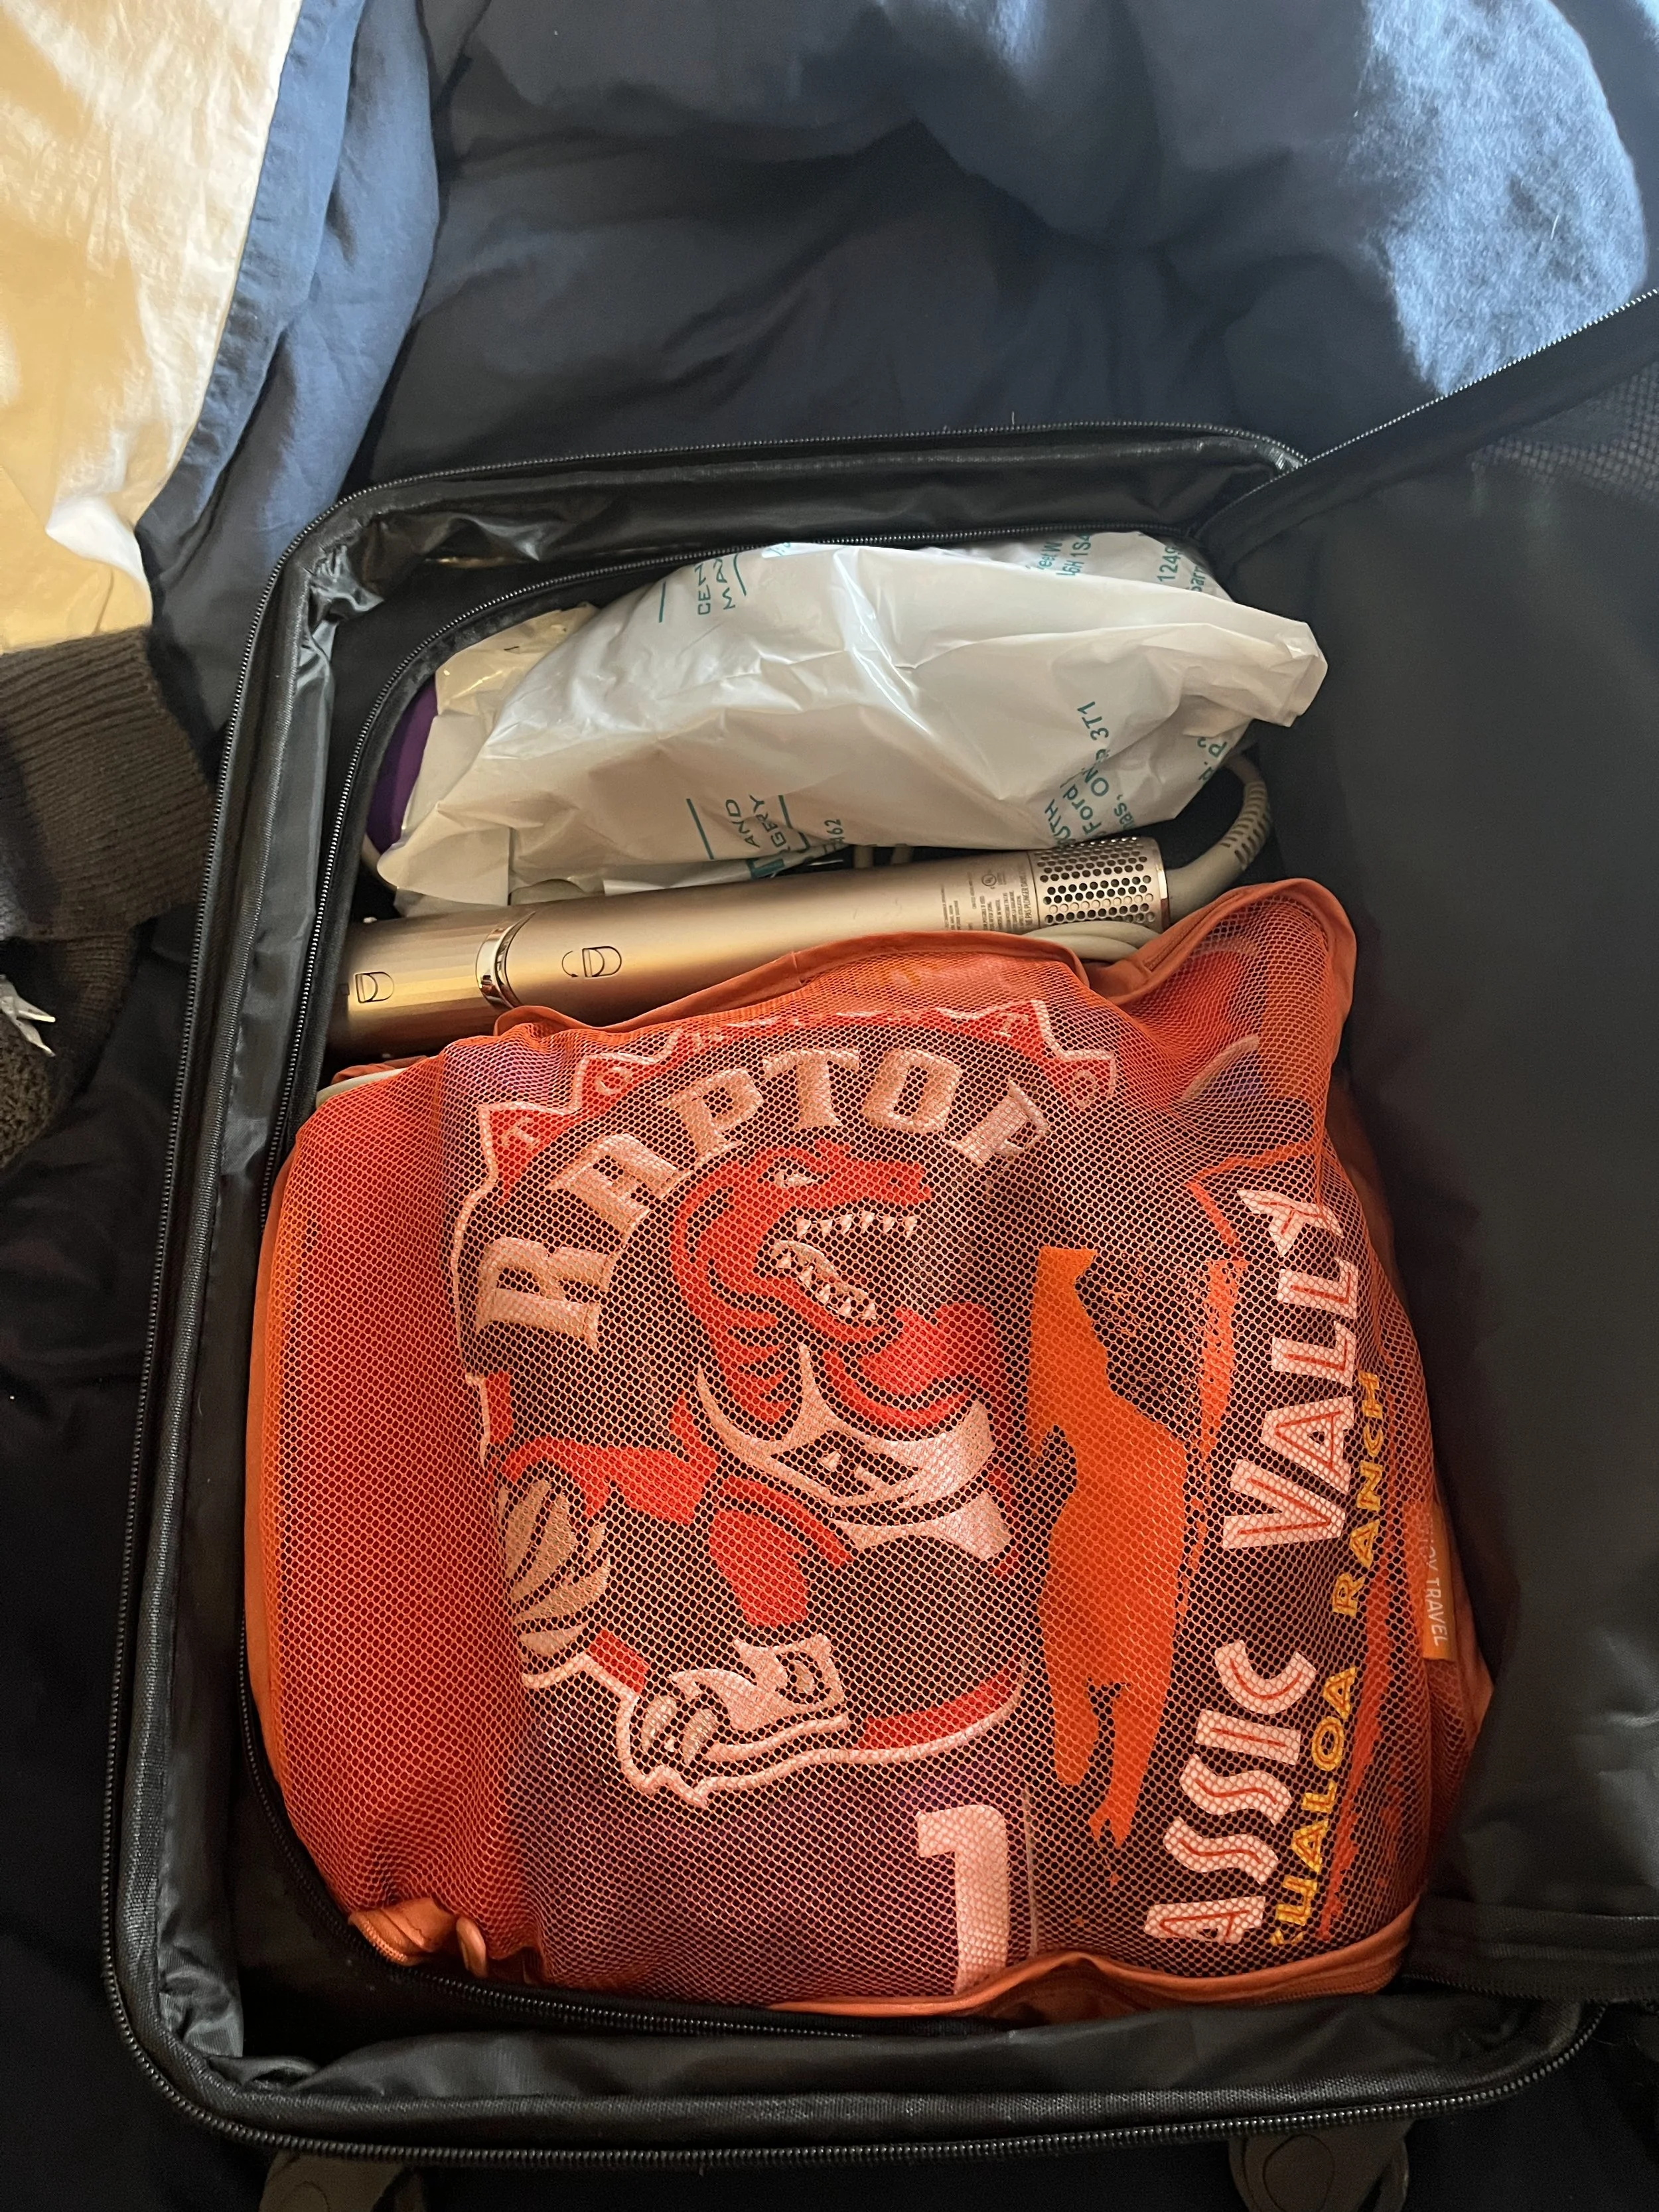
Step 3: Roll Everything (Yes, Everything)
I roll my clothes instead of folding them. This saves space, keeps items visible, and helps reduce wrinkles — especially with travel-friendly fabrics.
The order matters:
Bulky items go in first
Smaller items fill the gaps
Flexible clothing gets pushed into corners and edges
If I’m traveling somewhere warm, cold-weather items go on the bottom.
If I’m traveling somewhere cold, summer clothes go on the bottom.
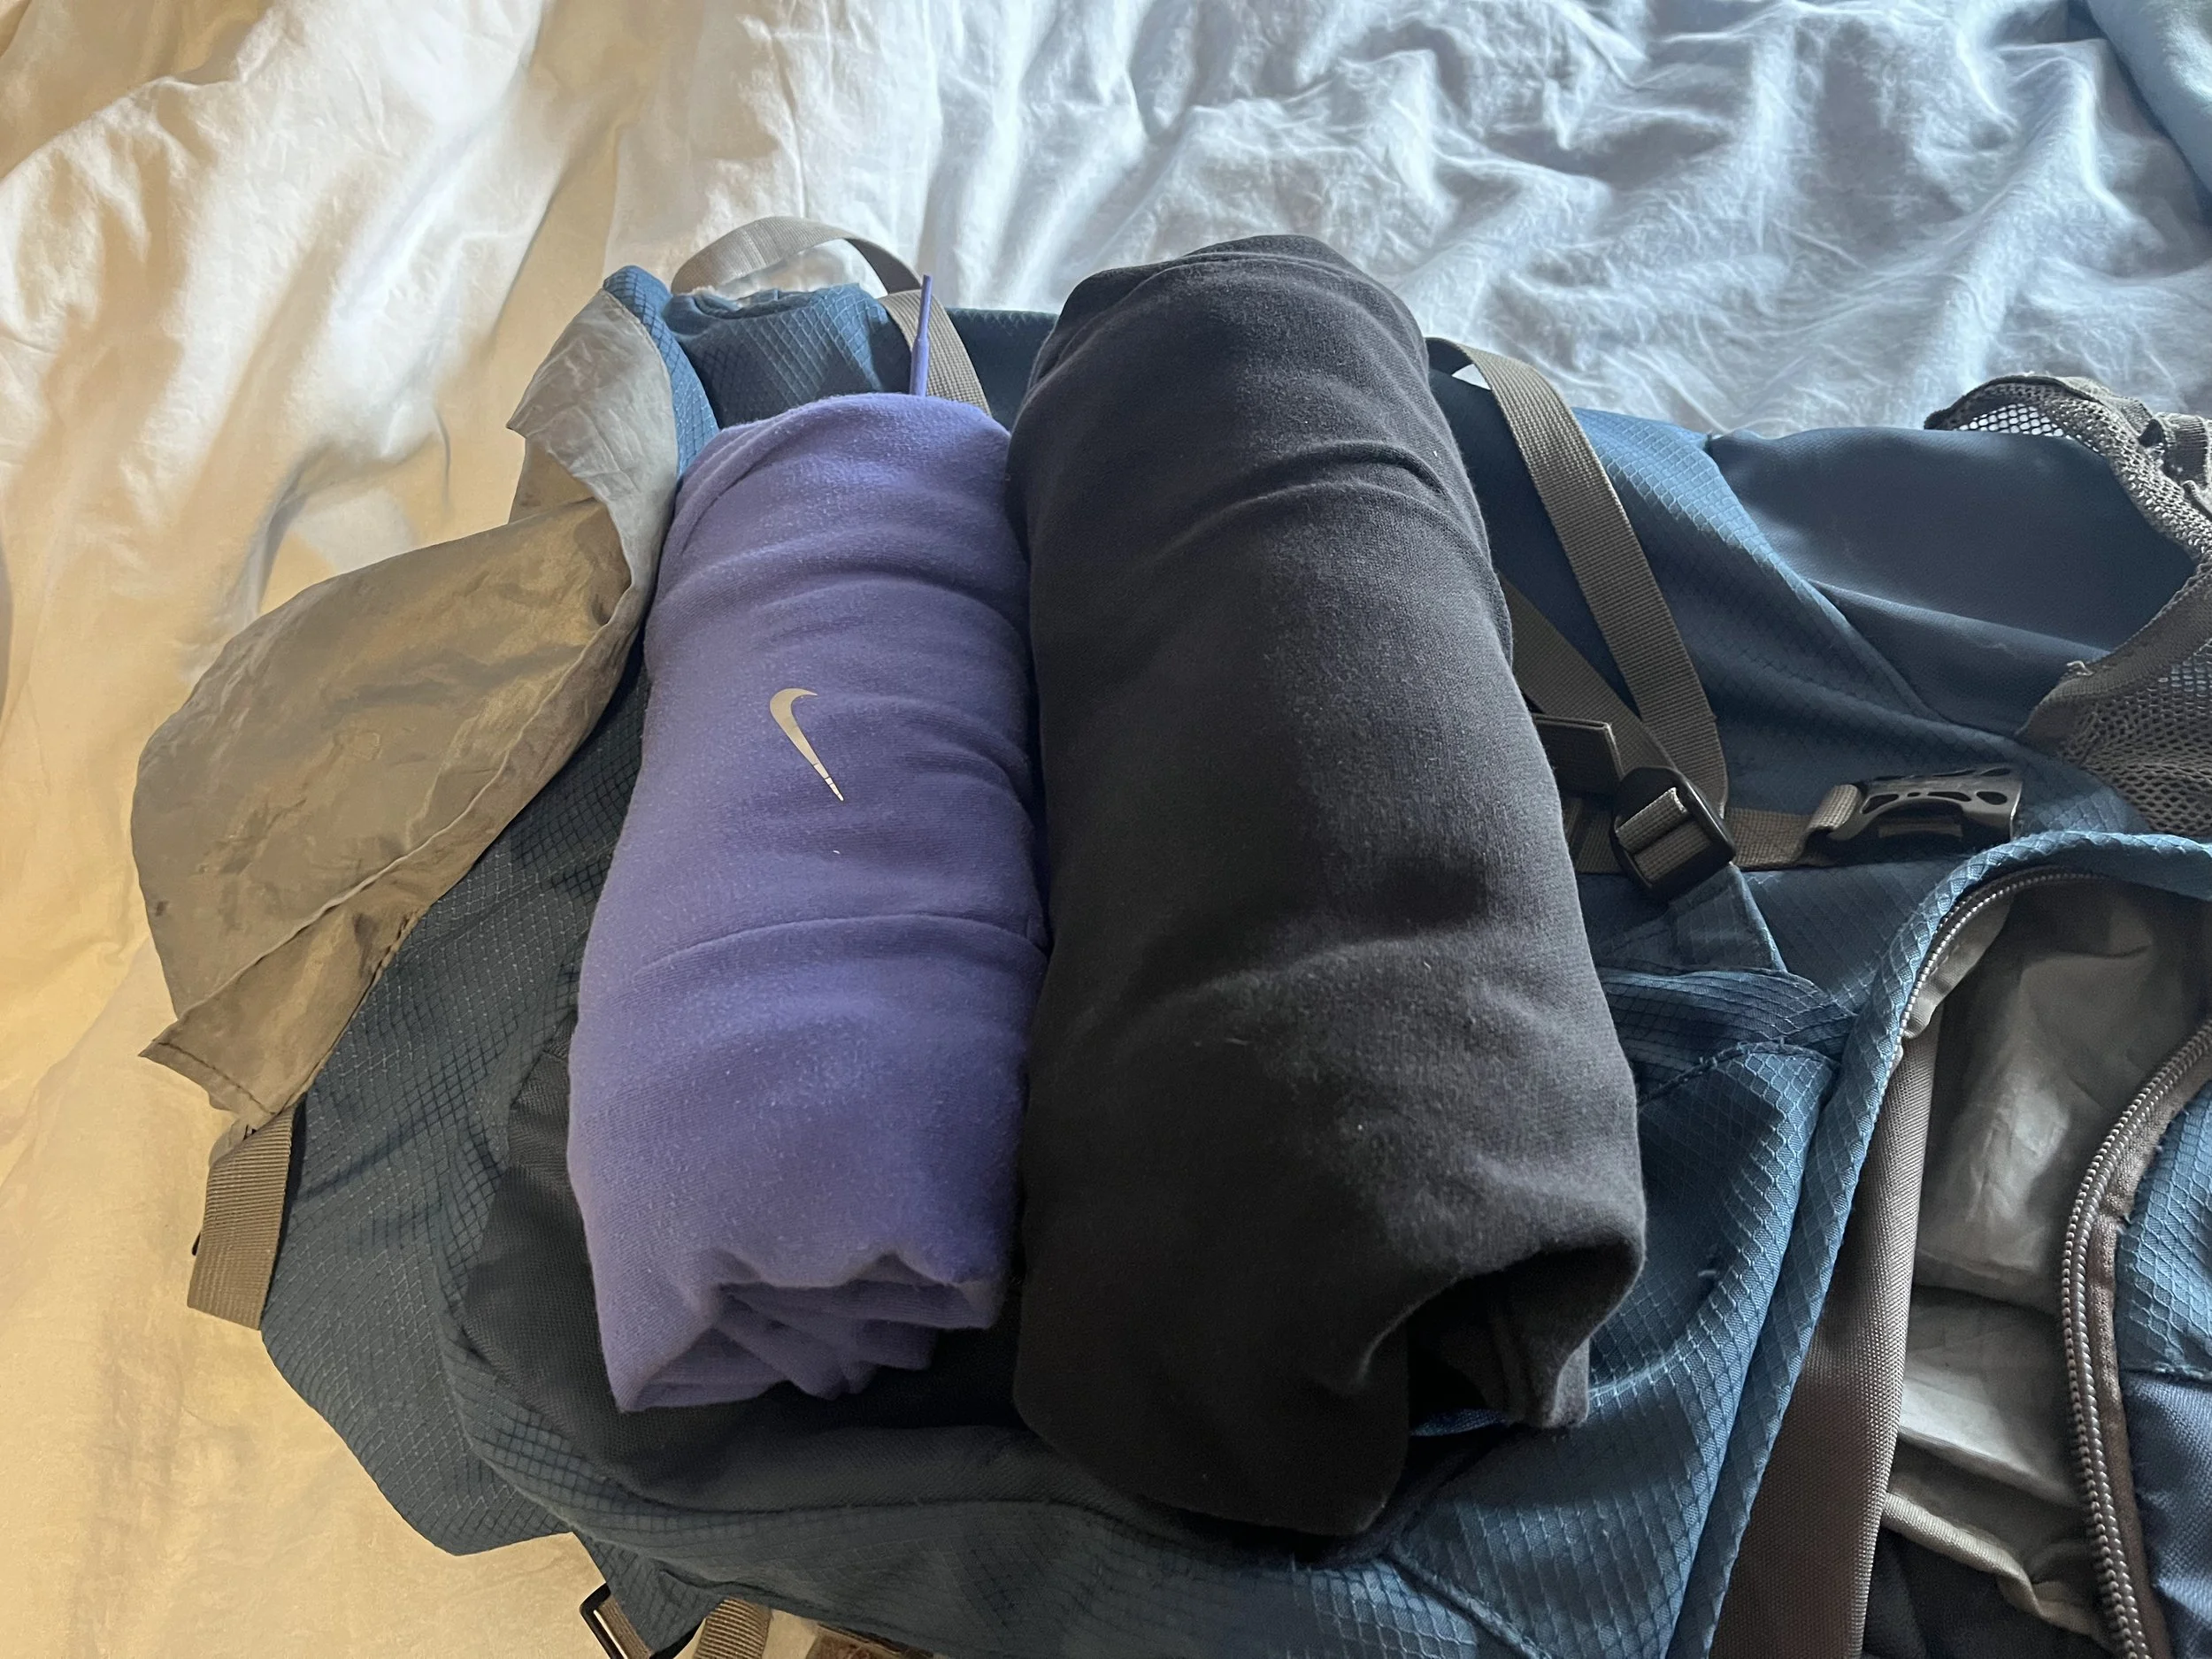
Rolling clothes saves space and makes everything easier to find.
Step 4: Pack by Priority, Not Category
Instead of grouping “all shirts” or “all bottoms,” I pack by importance.
Items I wear often or might need quickly go near the top. Things I won’t touch for a while go lower down. This prevents full unpacking every time I need one thing.
My beach towel, microfiber towel, and toiletry bag always stay close to the top — easy access, zero stress.
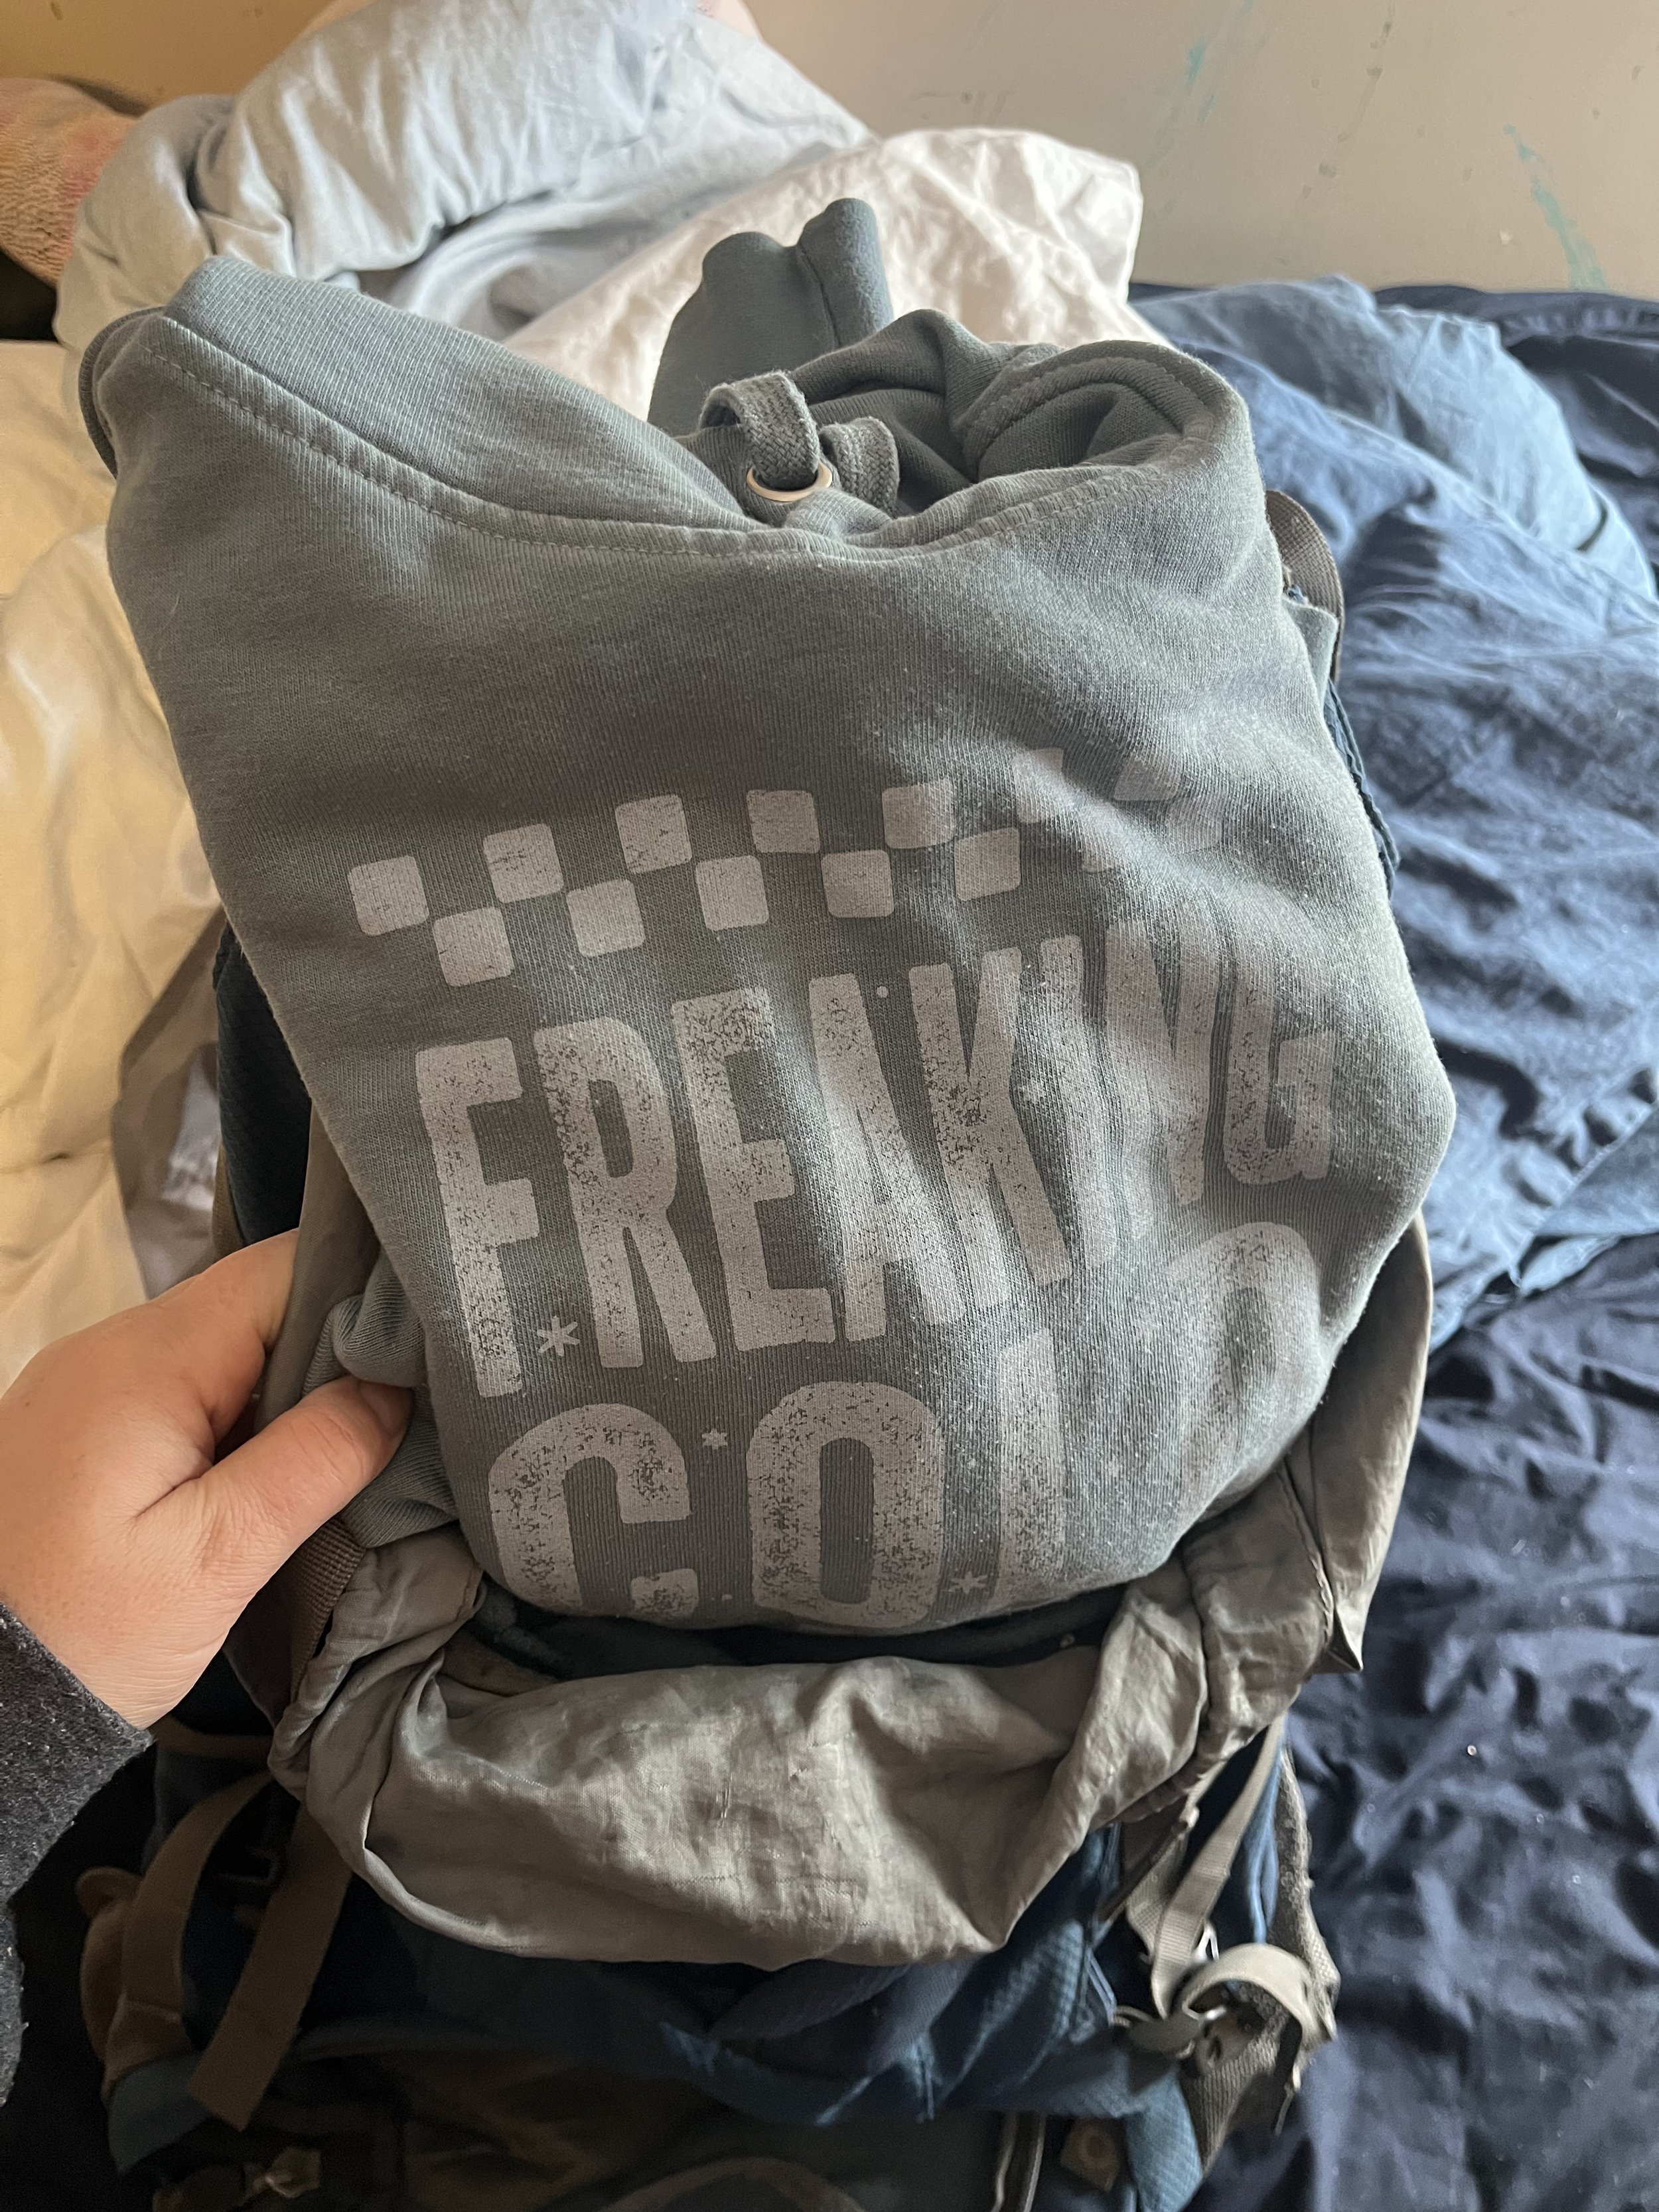
Pack bulky items strategically. Sweaters and hoodies go in first so everything else can fit around them.
Step 5: Wear the Bulkiest Items in Transit
Winter coat? Worn on the plane.
Sweater? Worn.
Heaviest shoes? On my feet.
Once I arrive somewhere warm, I strap bulky items to the outside of my backpack instead of forcing them inside.
This one step alone can save a huge amount of space.
Wear your bulkiest items in transit to save backpack space.
Step 6: Keep Your Personal Item Light (But Strategic)
I travel with a small backpack as my personal item. This holds:
Laptop
Passport + travel wallet
One warm layer
Absolute essentials only
Airports are freezing, but bulky clothing eats space fast. I pack just enough to stay comfortable without overloading myself.
Remember, you are carrying this backpack everywhere — so lighter always wins.
Step 7: Accept That “Perfect Packing” Doesn’t Exist
I pack roughly the same amount whether I’m gone for 3 days or 7 — just with more underwear. I plan for:
Day outfits
Night outfits
Pajamas
Multiple bathing suits (non-negotiable)
Is it minimalist? No.
Is it realistic? Absolutely.
Packing should support your trip — not restrict it.
Packing systems evolve as you travel — and that’s okay.
Step 8: What I Pack as a Baseline
This changes depending on destination, but this is my general starting point:
2 sweaters (one worn, one packed)
2 pairs of jeans
1 pair of sweatpants (plus airport sweats)
1 thin sweater
1 pair of leggings
2 pairs of jean shorts
2 pairs of athletic shorts
2 workout tank tops
4–6 tops
1 casual dress
1 nicer dress
From there, I adjust based on climate, activities, and trip length.

Bring fewer items that work harder — layers, repeats, and comfort over variety.
Final Thought: Packing Is a Skill You Can Learn
Packing isn’t about having the perfect capsule wardrobe or the trendiest gear. It’s about understanding your habits, your comfort, and your travel style.
After years on the road, I know exactly where everything is in my backpack — and that confidence makes travel easier, calmer, and way more enjoyable.
If packing stresses you out, start small. Build a system. And remember: the goal isn’t perfection — it’s freedom.
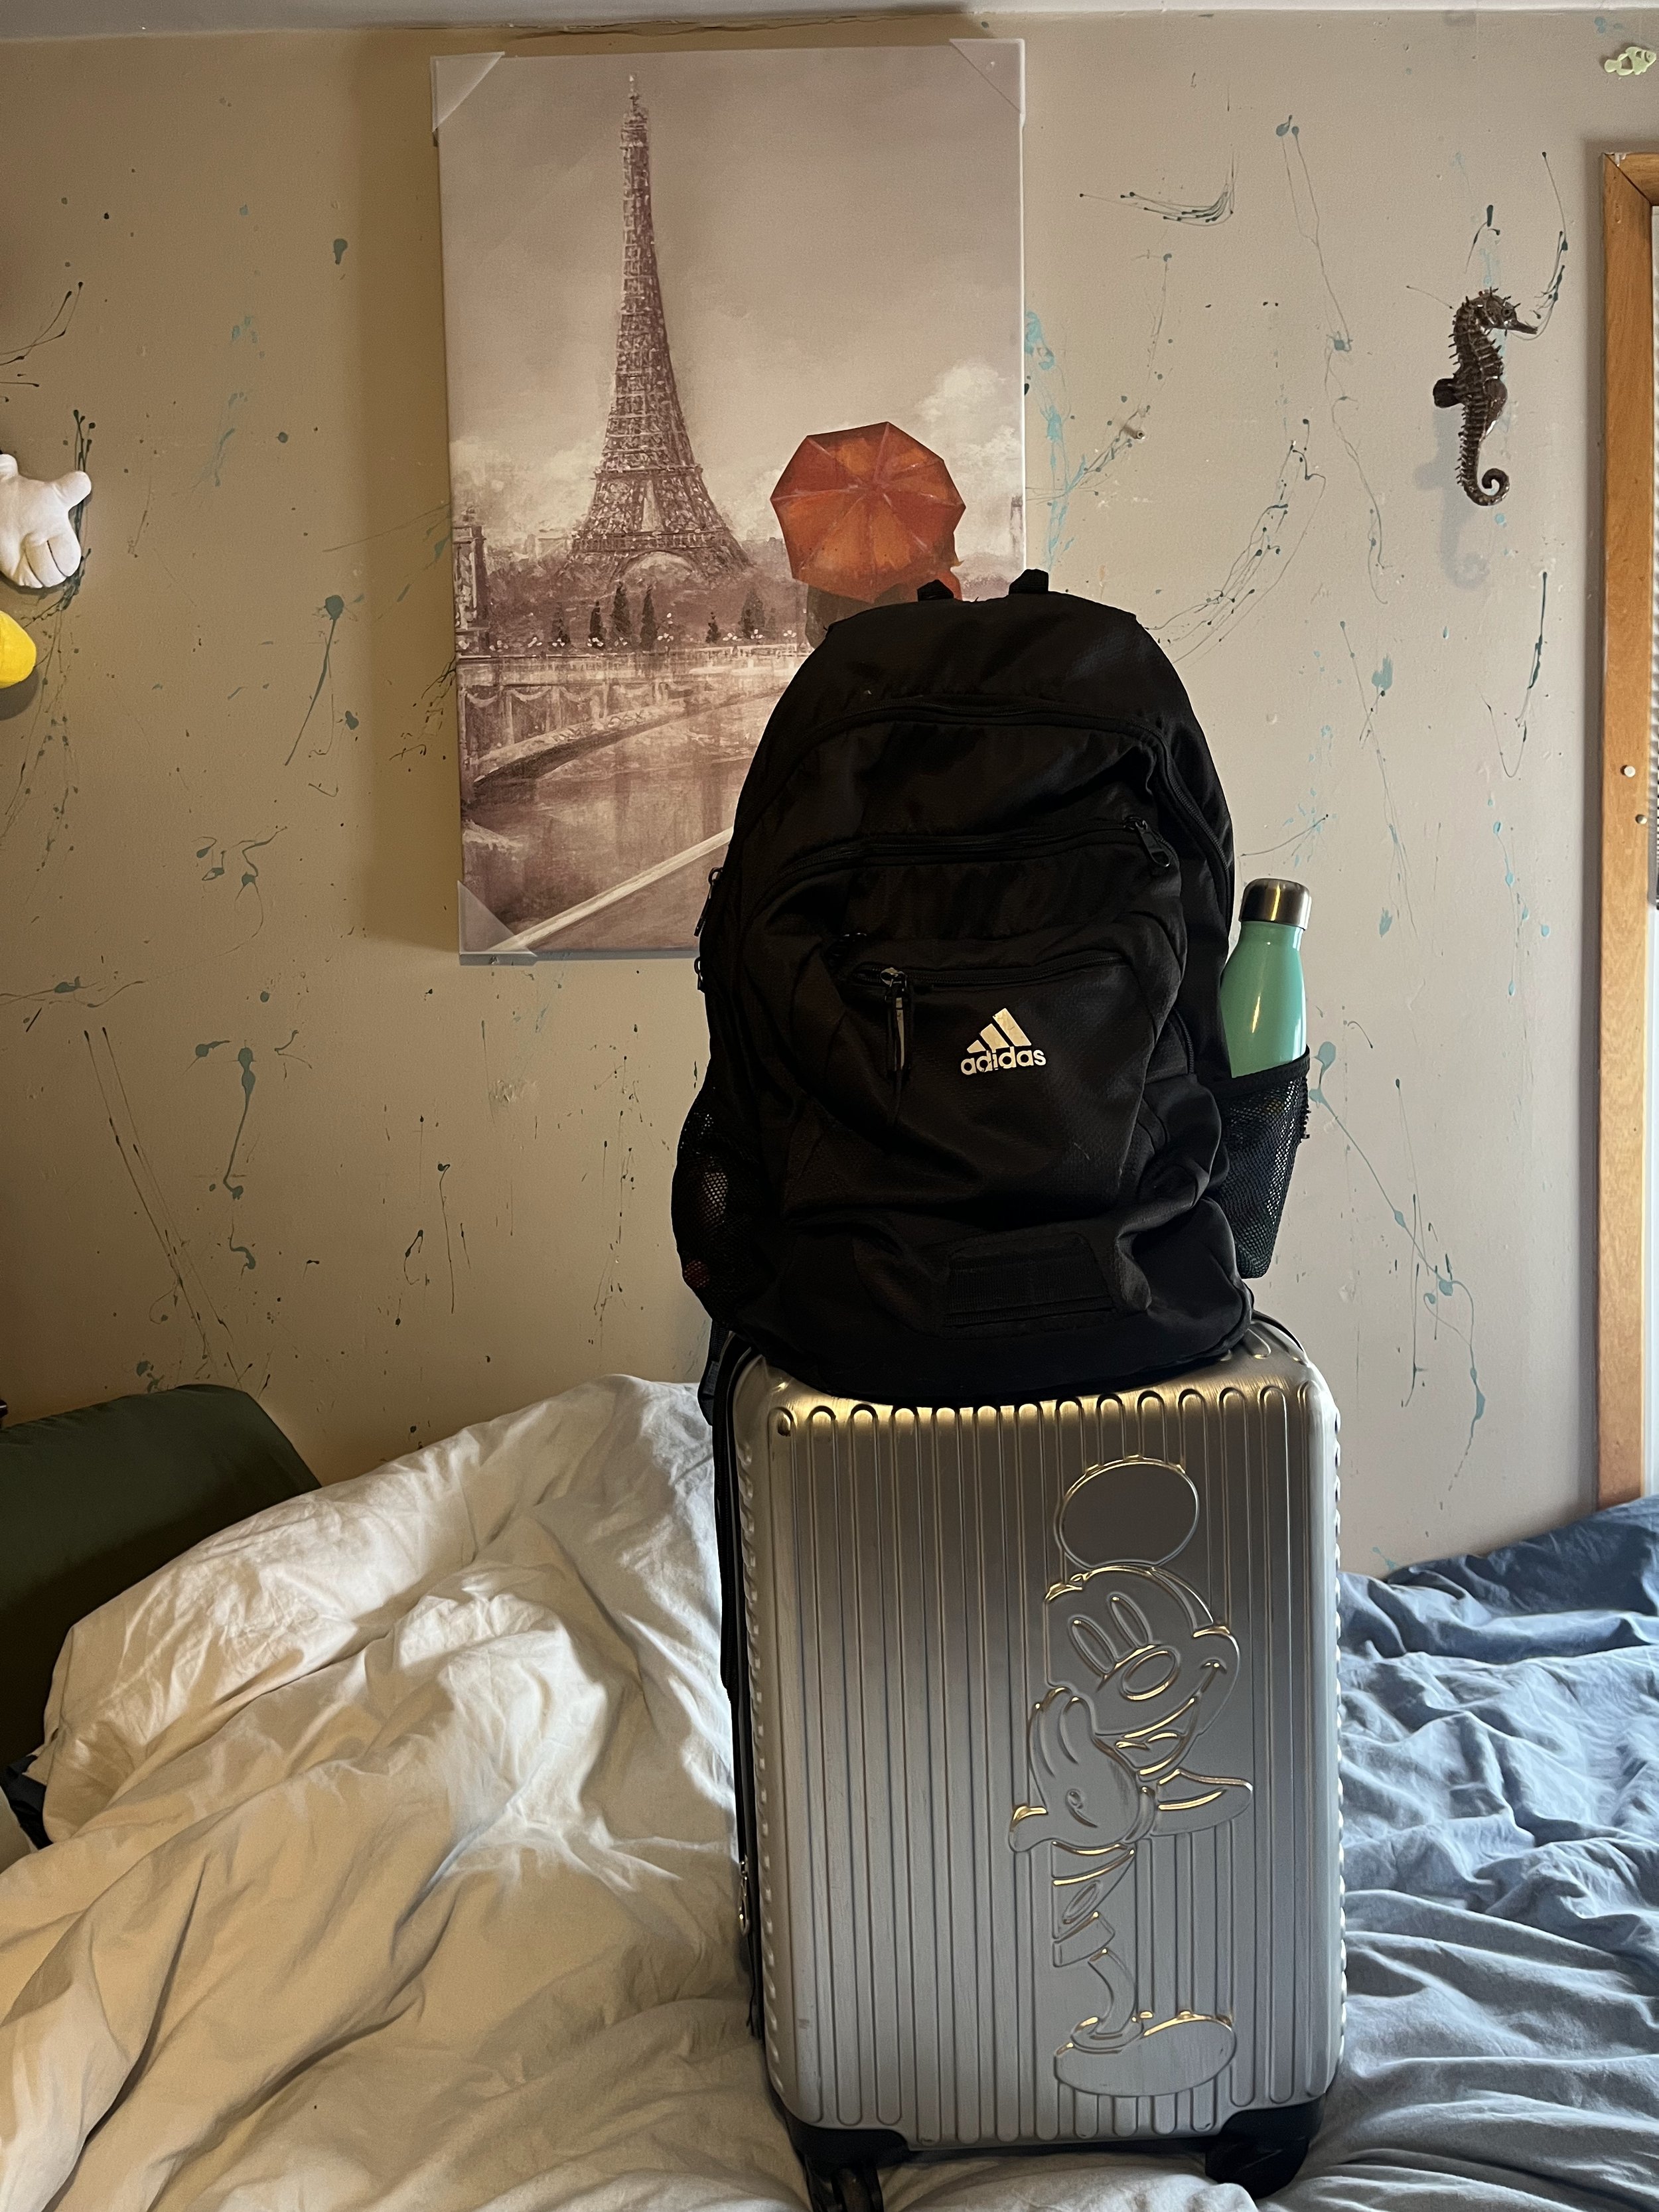
One system, two bags, endless adventures.